Mum Little LOVES!

My Life and My Loves!

  • ABOUT
  • CONTACT / COLLABORATE
    • Product styling and photo packages
    • Testimonials
    • Boffice
    • Early Settler – Tropical Vibes EDM
    • Cottages & Bungalows
    • ‘How far would you go to be Insta-famous’ / VAMP article
    • Early Settler – EDM
    • ‘A study Space she’ll love’ collaboration with Pottery Barn Kids.
    • Little Loves X Dwell Store
  • MY HOME
    • Home Beautiful – Dec 2023
    • Home Beautiful – July 2023
    • HOLIDAY DECOR magazine
    • Our home in Queensland Homes magazine.
    • Home Beautiful Magazine – Jan 2015
    • My home on Reno Addict.
    • My home on Glamour Coastal Living
    • Figs & Feta feature
    • @qweekendloves
    • Early Settler Home Life feature, August 2020

My IKEA slipcover review with Comfort Works

May 24, 2021 by Hayley Leave a Comment

This last year has taught us all a lot. Spending so much time at home has made us rethink the type of houses we want to live in. For my family and I, we realised that we don’t want to live in a cold, over-style house where everything looks too perfect and shiny to touch. We wanted to create a home that felt warm, cosy, comfortable and inviting.

Lucky for us, we also moved houses at the beginning of 2020 and it’s been a great opportunity to change our style and create a whole new look for our home. Unfortunately, we didn’t win the lotto and we don’t have any money trees so we are creating our forever home on a budget like most people.

We have been doing this slowly, room by room, bit by bit and letting it evolve over time, waiting for the perfect pieces instead of rushing things just to get it finished. This week I put the final pieces in the living room and I am thrilled with the overall look we achieved in here.

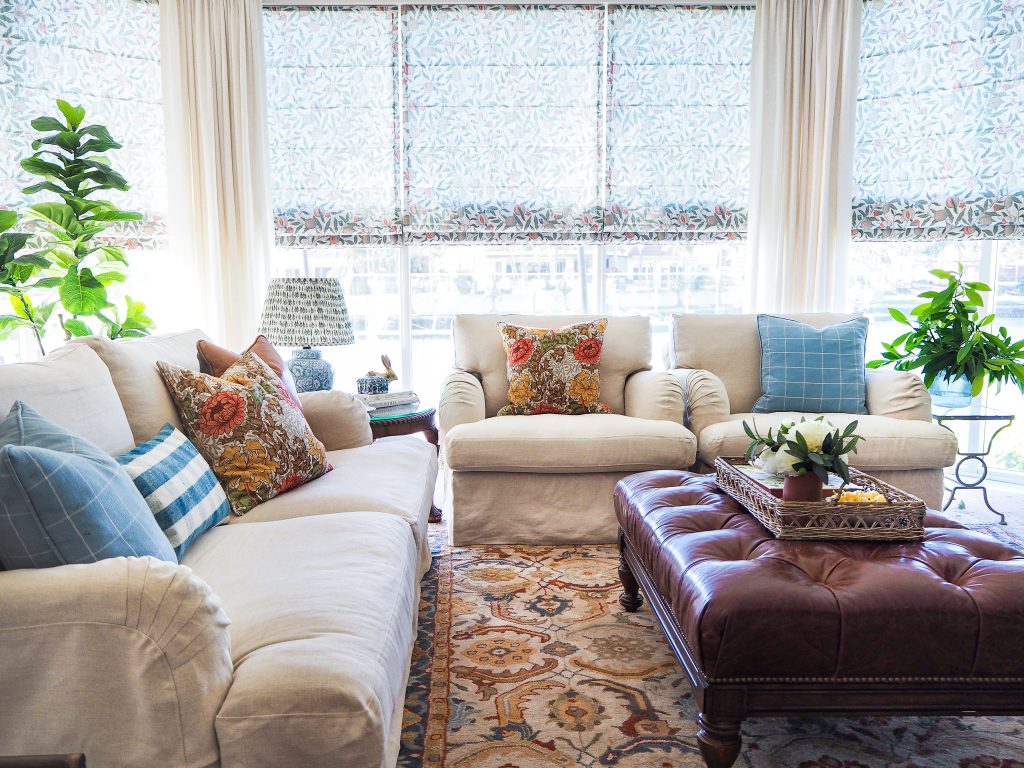
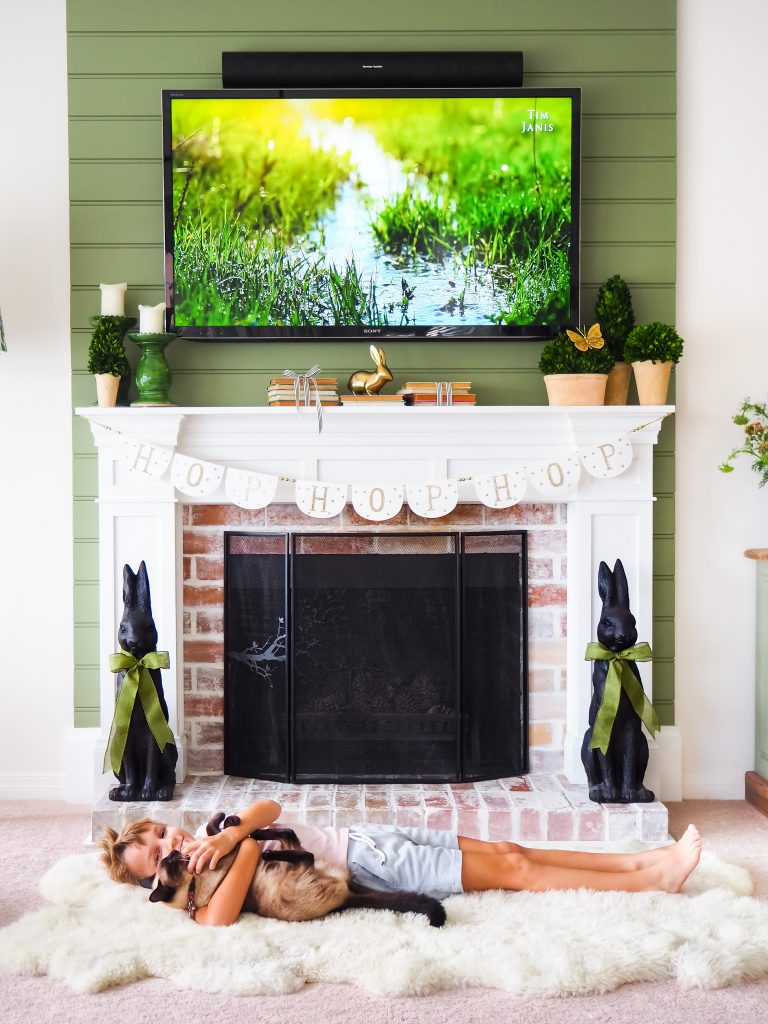
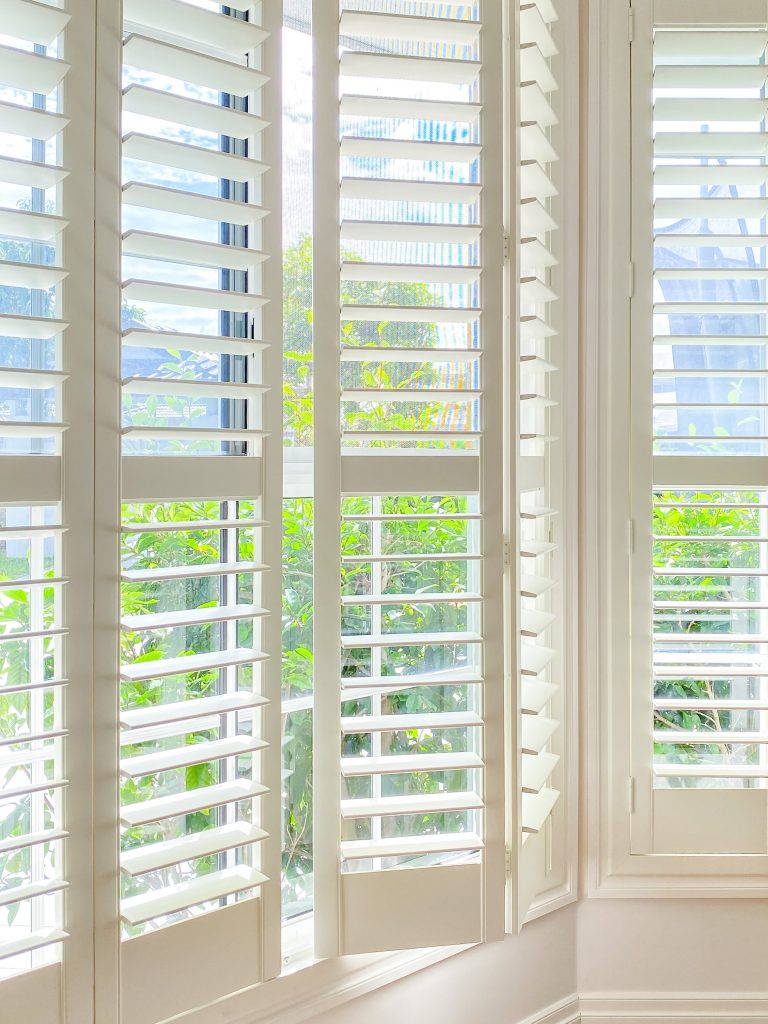
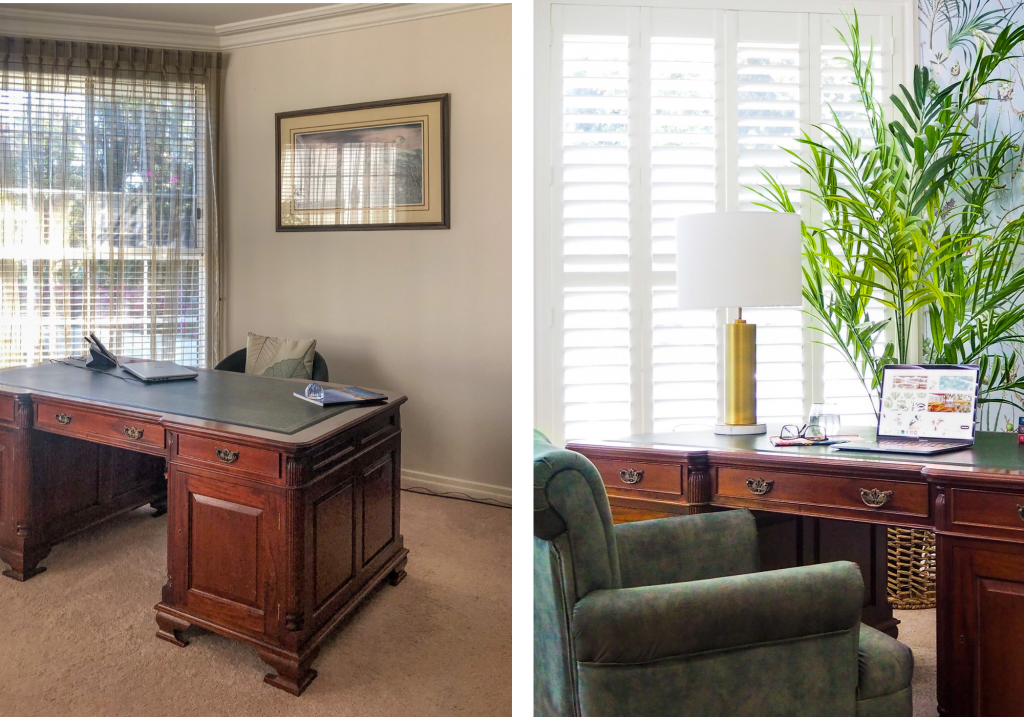
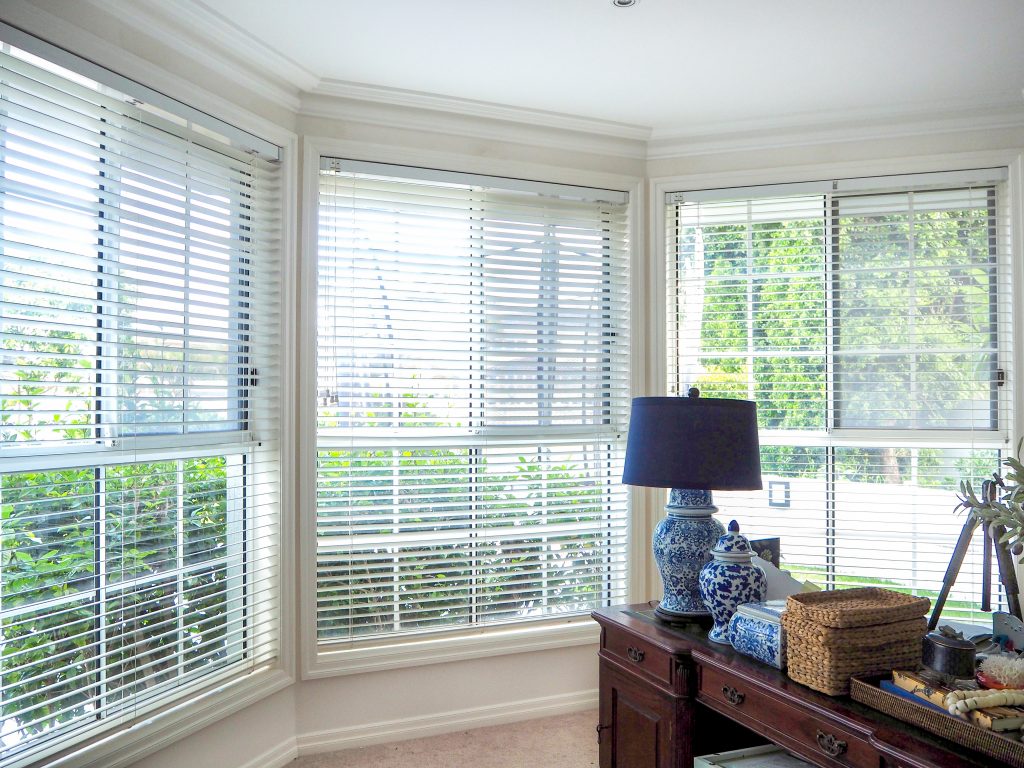
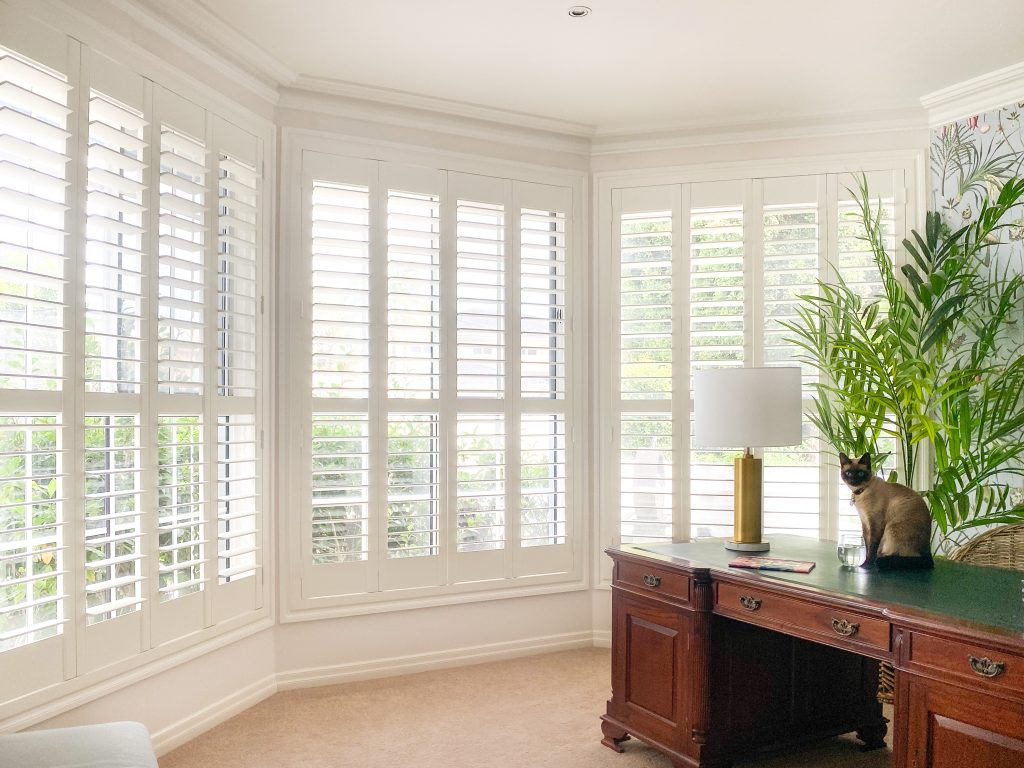
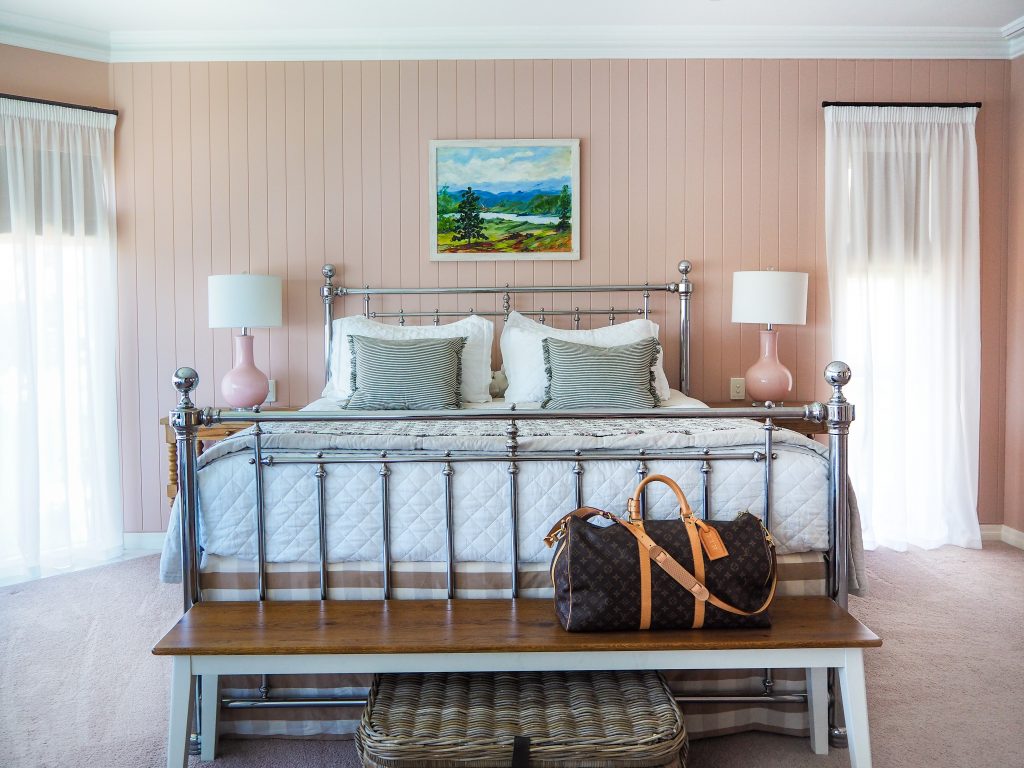
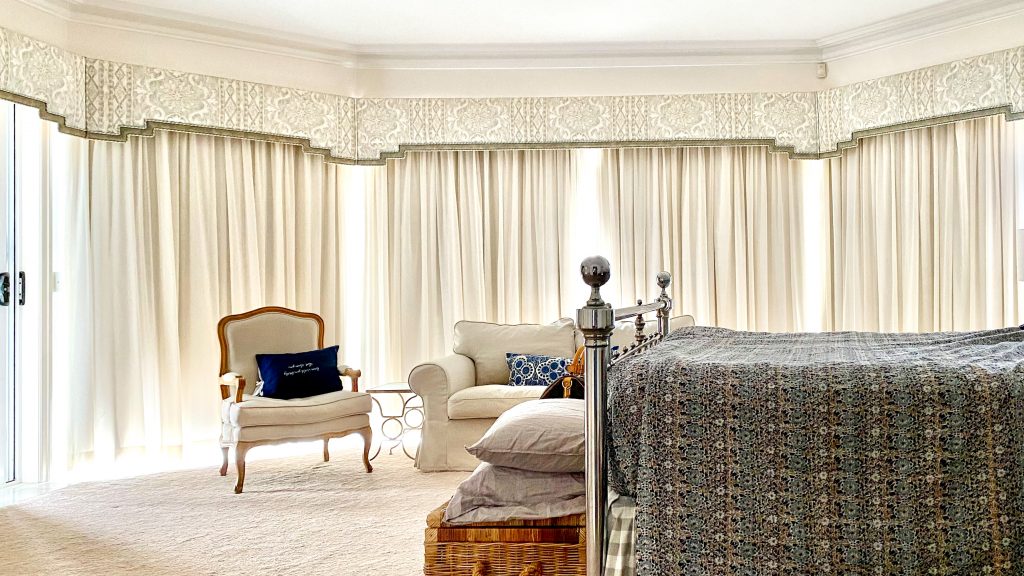
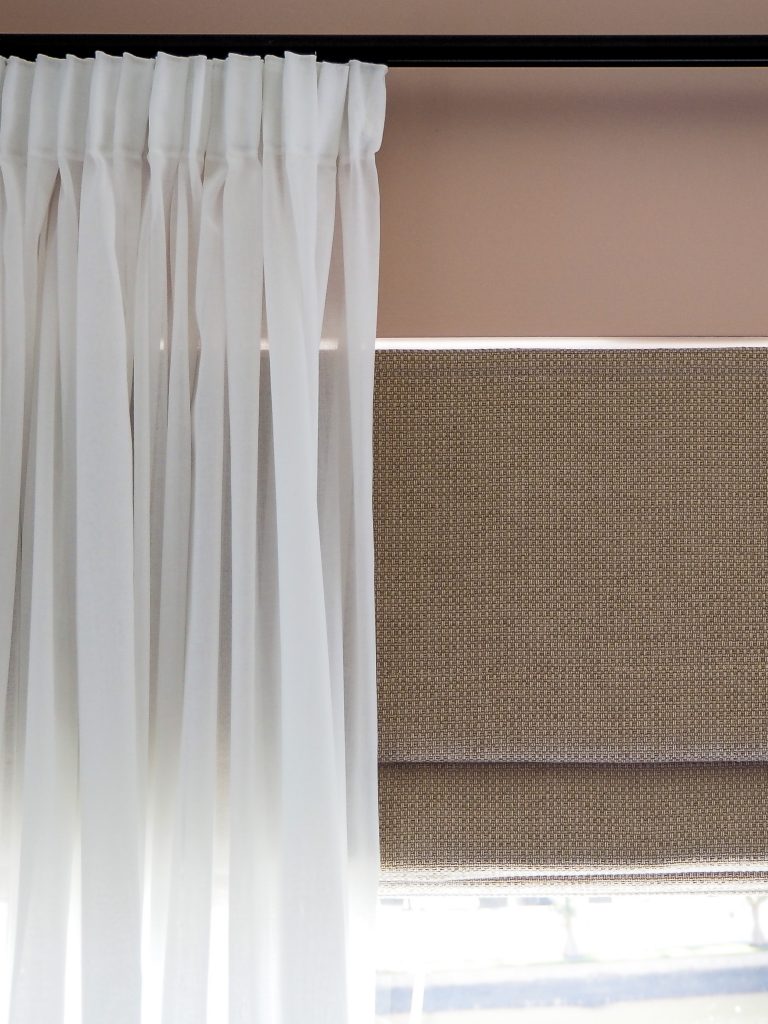
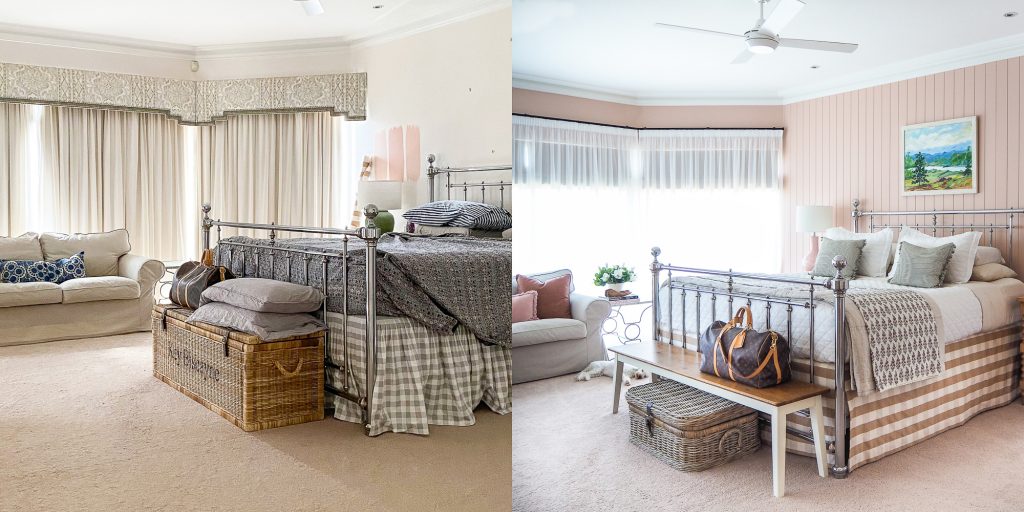
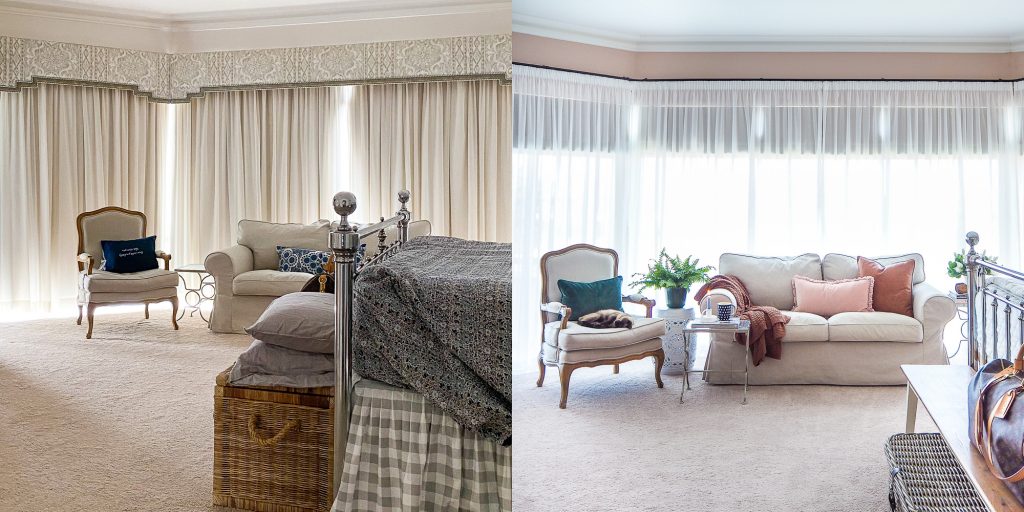
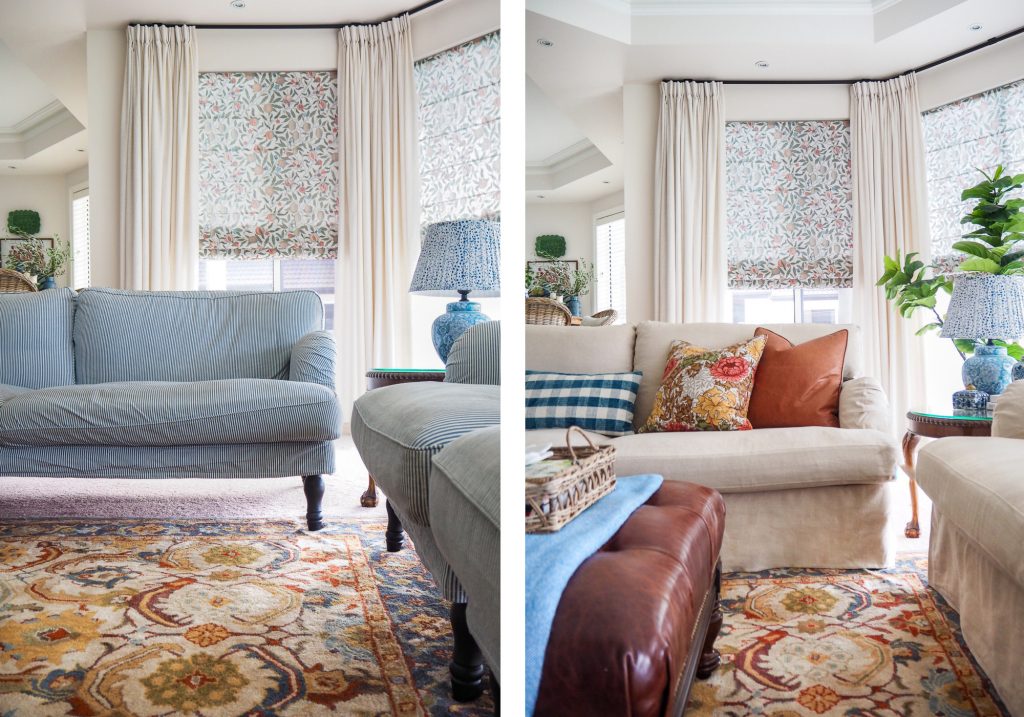
If you’ve been here a while you will know we changed the window coverings and transformed the fireplace when we moved in, you can see those before and after pics here and here, while those changes are amazing, it still didn’t feel warm. It still felt a little coastal and cool.

BEFORE

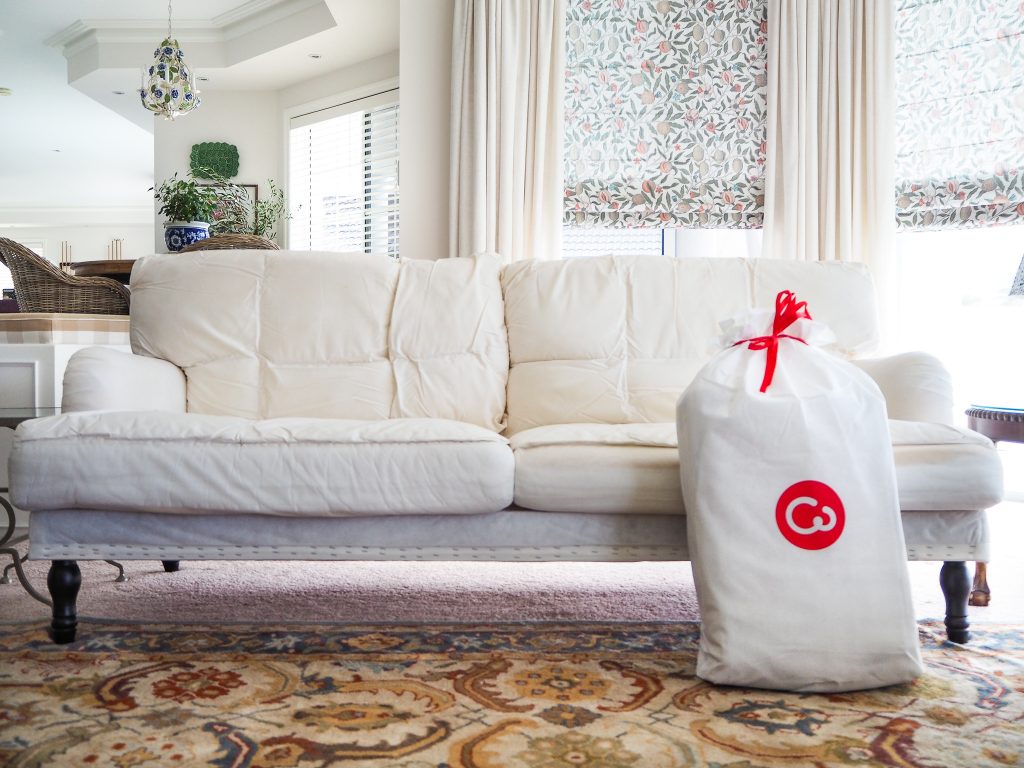
That’s when I decided we needed to get rid of the blue and white striped sofa, while I love stripes, it just wasn’t giving me the warm and cosy feel I was after. New sofas were not in the budget, and we still love our IKEA Stocksund sofas, so I knew exactly where to go – COMFORT WORKS. I have used Comfort Works in the past for some sofa covers and was thrilled with the workmanship and quality of them, so I had no hesitation in using them again for some new Stocksund sofa covers.

NAKED

This is where the fun begins. There is so many options to choose from, it really is like designing a custom made sofa. Obviously, the base shape will depend on what sofa you have, they don’t just make IKEA sofa covers, Comfort Works do covers for so many different brands and if yours is not listed on their website, they will work with you to make a custom slipcover just for your sofa.

AFTER

A6A5E8C2-9A4B-408A-9A7D-700BB0C45004

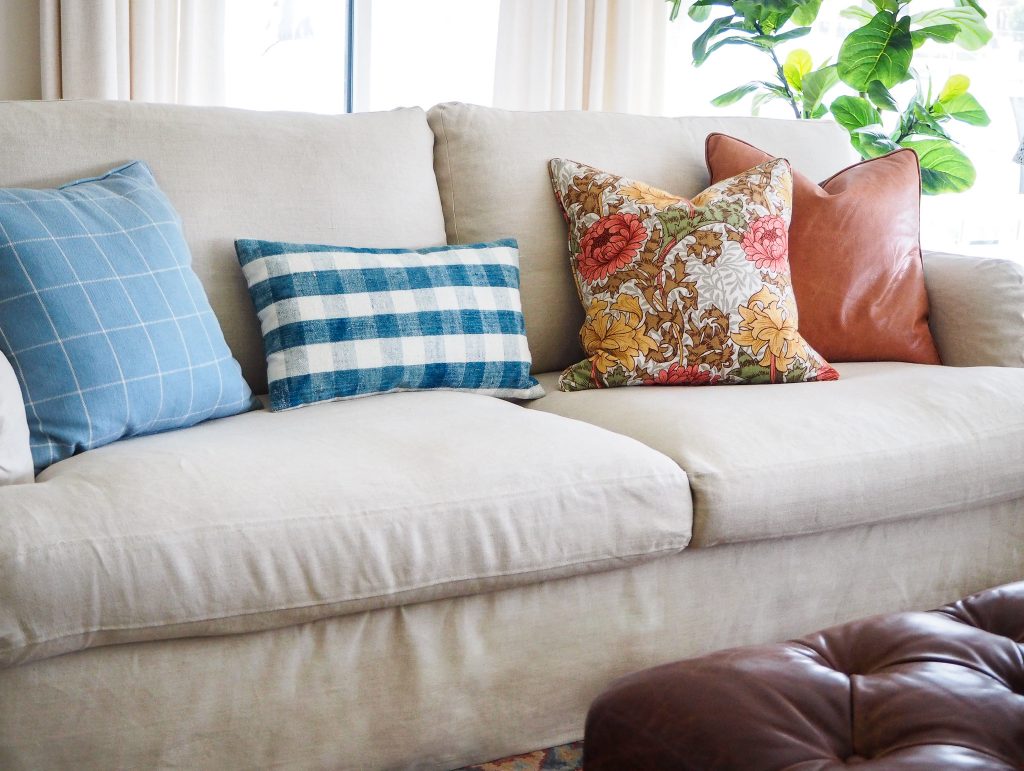
I have an IKEA Stocksund 3 seater and two armchairs. I found my sofas in the menu selections, then chose my slipcover style, There is 5 styles to choose from, the differences between them might be subtle, but it’s these small details that help to create the exact feel you want for your sofa. For example, this time I chose a style without piping because I wanted it to feel very casual. I also chose a skirted style so we could really appreciate the way linen drapes so beautifully. I chose the minimalist style.

Then you chose your fabric.
If you are not confident choosing fabric online, you can order some samples from Comfort Works before you order your covers so you can touch them, feel the weight and texture and decide on a colour in your own space. I highly recommend doing this.
There is a big range of fabrics ranging from synthetics, to cotton, linen, velvet and leather, including a vegan leather option. There is also a great range of colours suitable for every style from modern to country, coastal or cottage and everything in between.

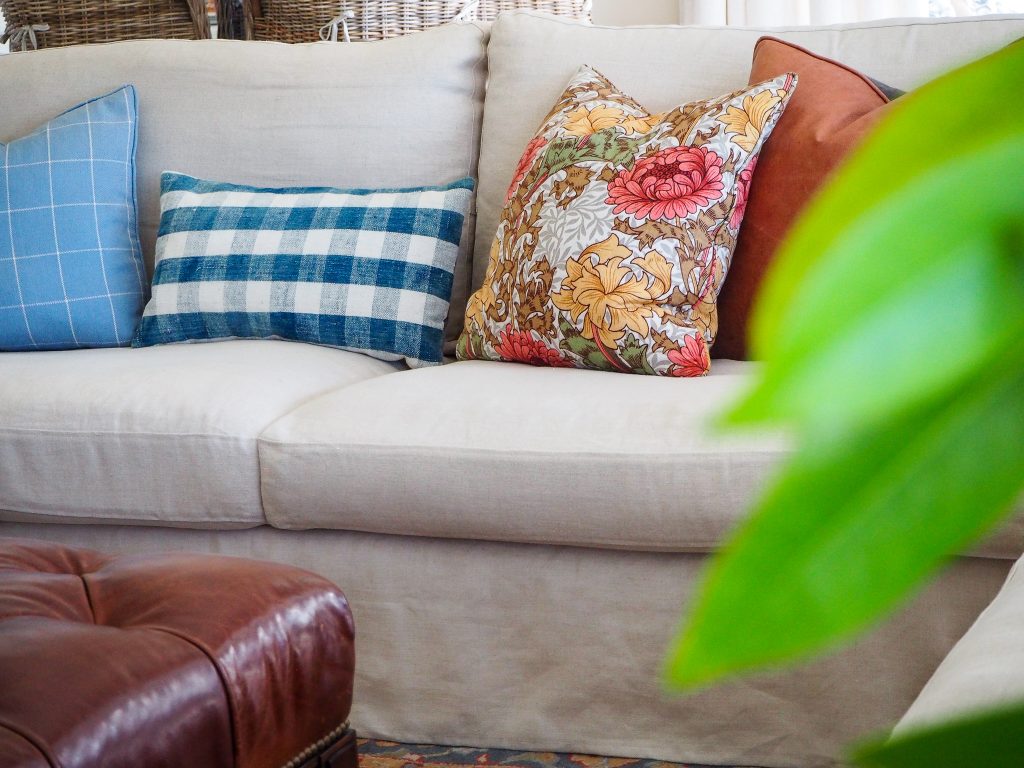
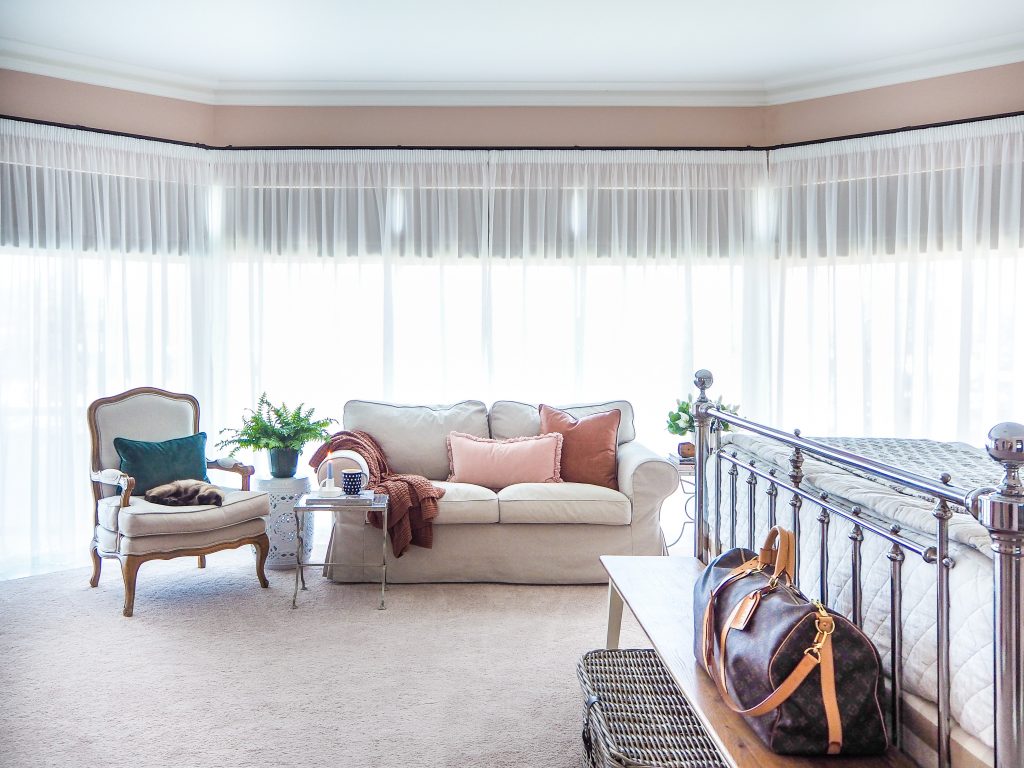
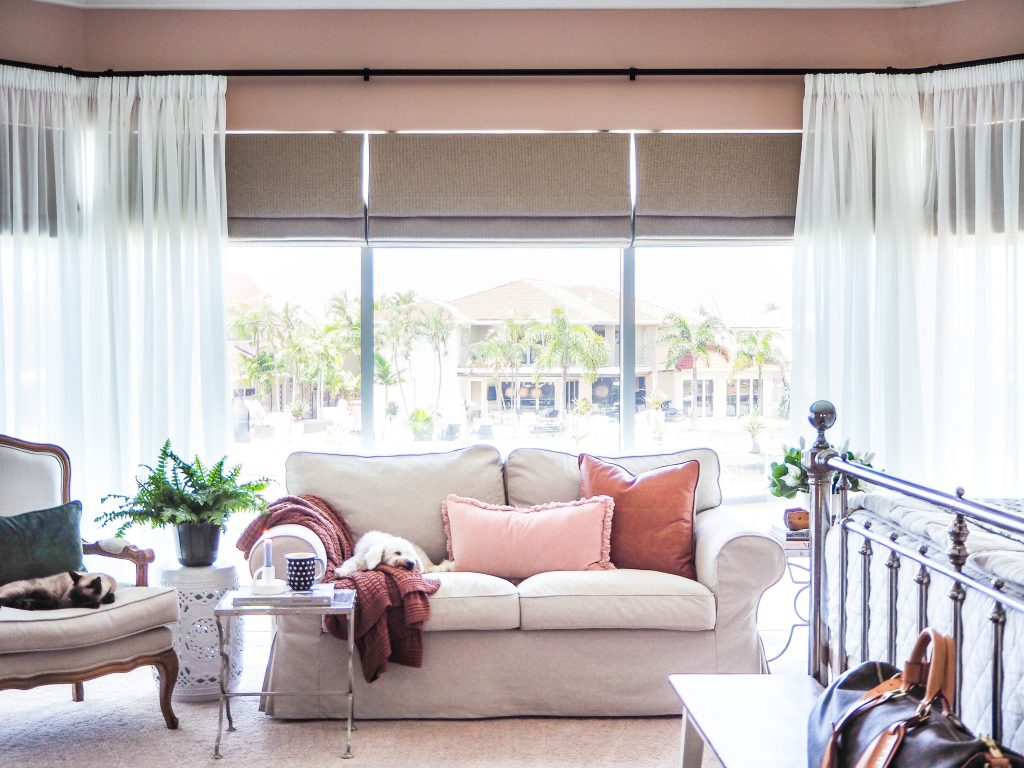
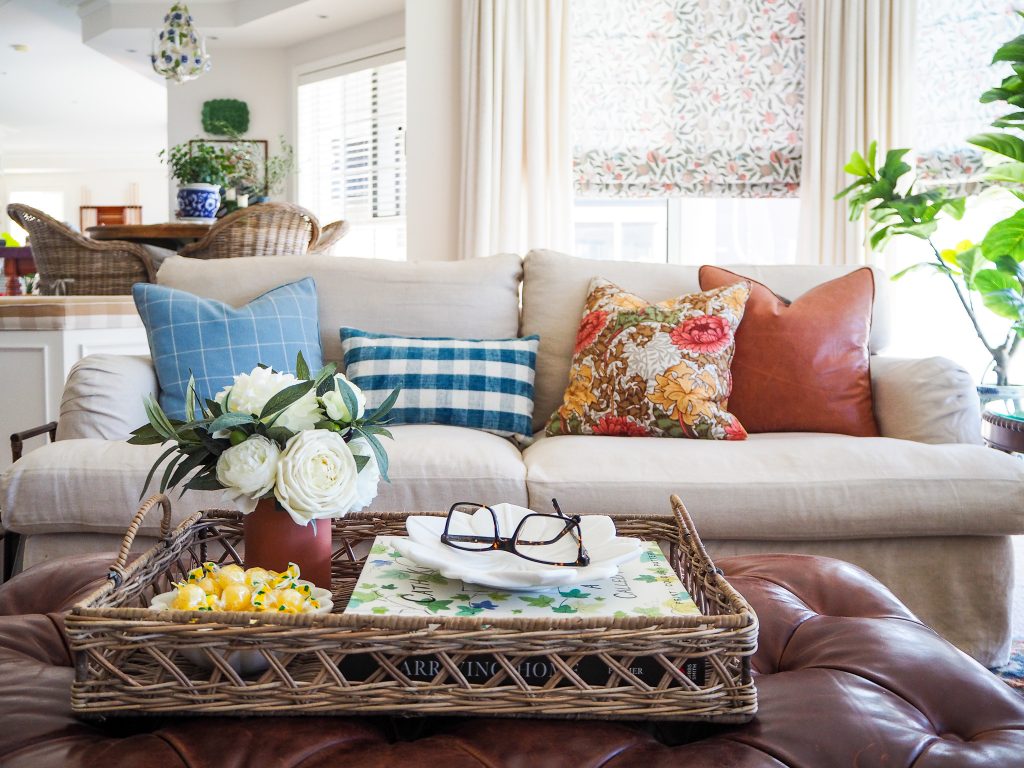
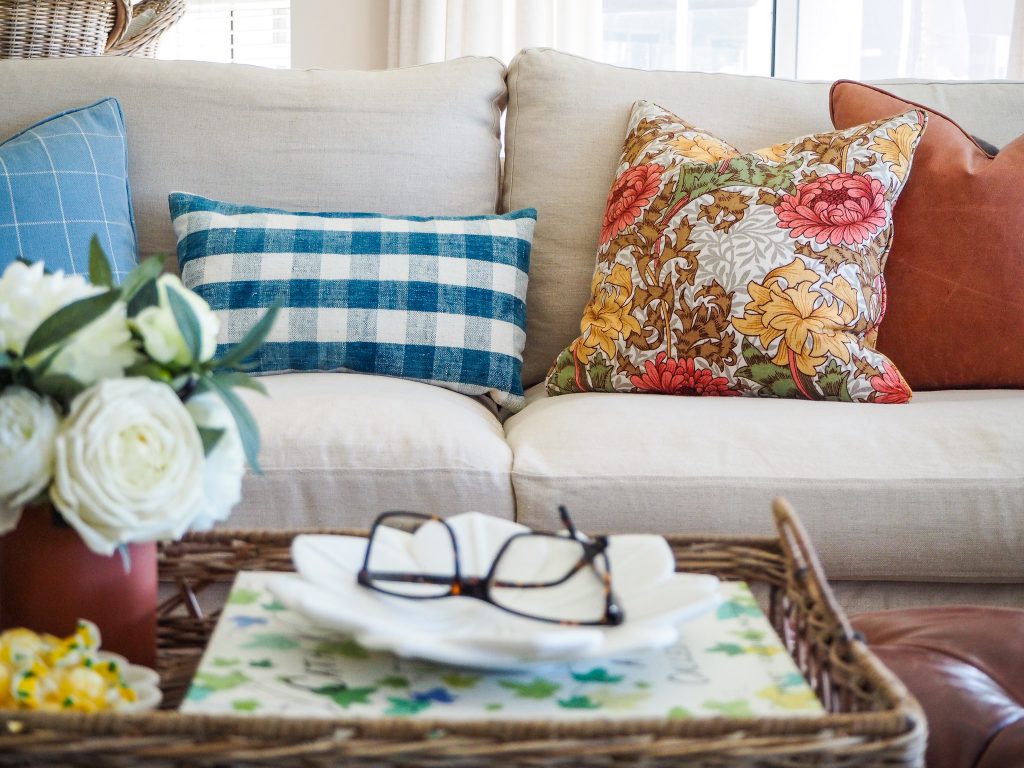
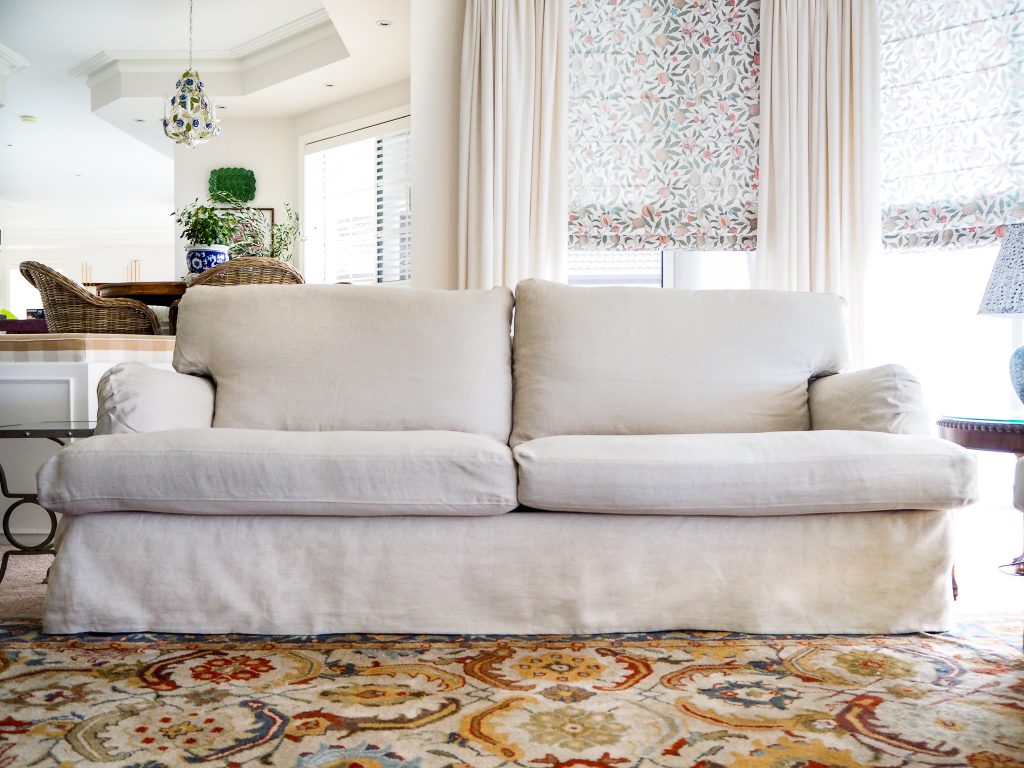
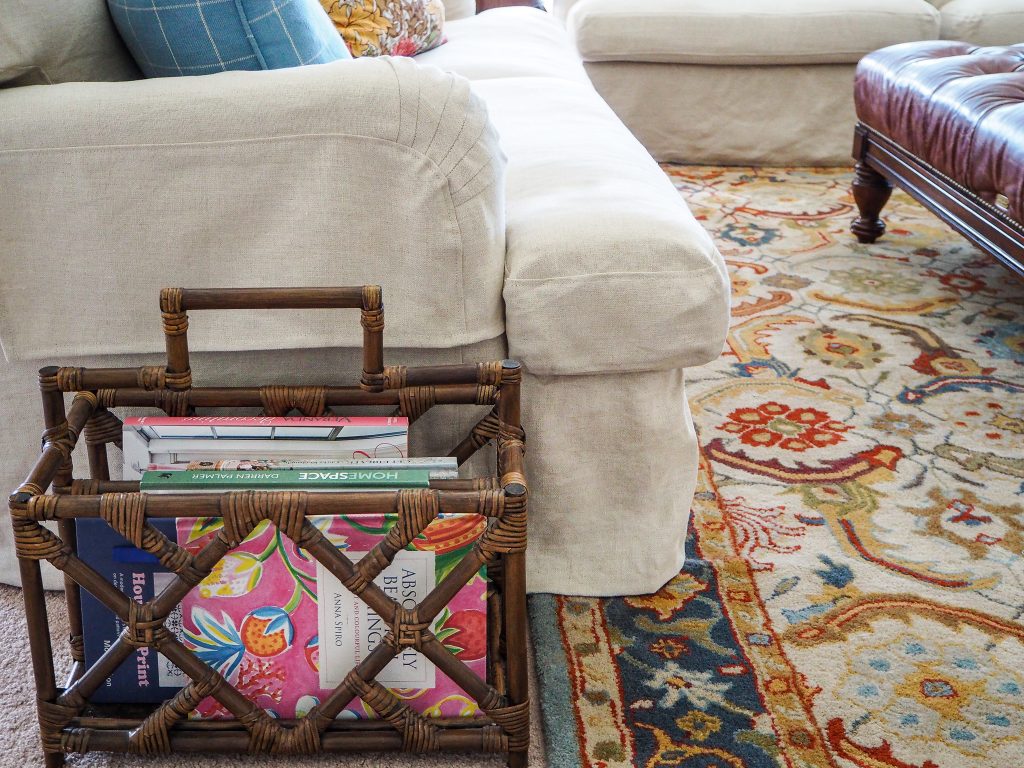
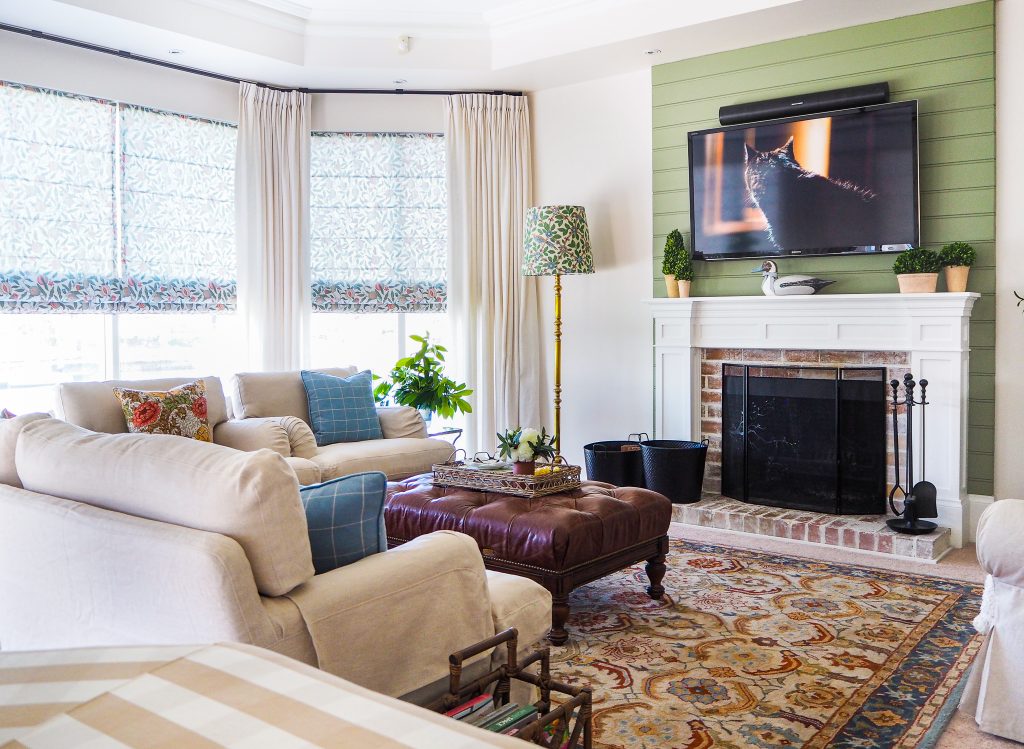
I chose the Pure Linen in Natural. I decided to lean into the relaxed vibe and embrace the crumpled linen look. It’s a beautiful fibre that I really love in other places in my home, we sleep in linen bedding and I use linen on my dining table. It is soft and cool, it washes well and is durable enough to withstand a busy family with kids and pets.

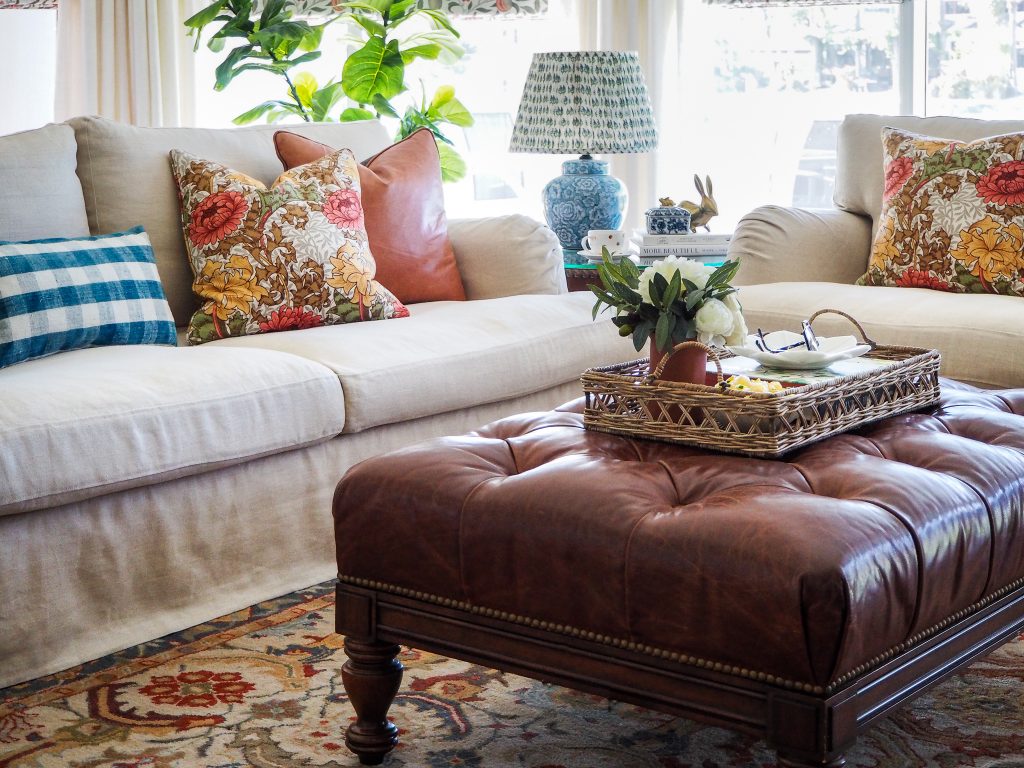
I finally feel like this room is finished. It has evolved slowly and the sofa covers are the perfect finishing touch to the space. They have transformed this room from a cool space with a summertime vibe, to a warm and cosy space that works well with the fireplace, window coverings and rug.

Once again, I am thrilled with my new slipcovers. The whole experience from receiving my samples, ordering online, then unpacking and fitting my covers has been fabulous.

If you are ready to give your sofa a facelift, you can create your custom sofa covers and get an instant quote here.

Happy Shopping!

Hayley x

DISCLAIMER – I was gifted my sofa covers from Comfort Works. I chose my own style and fabric for my covers. All opinions are 100% my own.

Easter, but not really …

April 3, 2021 by Hayley Leave a Comment

When Kim from Figs & Feta magazine contacted me recently about doing an article about ME I was gobsmacked. Our homes have been in a few magazines before, but those features focus on our home and style, not me!

I asked Kim why she wanted little old me in her beautiful magazine. She said she admires the way I have built a community of beautiful friends through IG, she likes how I share my DIY’s and encourage everyone to give it a go and she appreciates the fact I keep it real.

I had a little think about it and I realised I DO have an amazing Insta tribe of gorgeous, supportive and caring friends (so grateful), the only reason I share my DIY’s, shopping finds and styling ideas is to show you that you CAN do it and yes, I do like to share my giant piles of washing, my dirty floors and my epic fails just to ‘keep it real’.

So, the article was born, you can find it here.

Kim asked me to take a few photos of my house decorated for Easter for the article. I photographed the images in January and I wasn’t quite ready for 100’s of bunnies to invade my home so soon after Christmas, so I went with more of a Spring vibe with a hint of Easter. I chose a different colour palette than I usually do and I really love the way the photos came out. I wanted to share some of the ones that didn’t make it to the magazine here with you. I hope you like them too.

What kind of photoshoot would it be at my house if one of the animals didn’t make an appearance?

And of course the original photobomber – Orly!

I hope you liked my pics as much as I loved taking them. The best part about a home photoshoot is getting to eat and enjoy the props afterwards. Those mangoes and macarons were delicious, and the flowers brought a smile to my face everyday for well over a week!

Hx

White Dinner set – Shop here
Yellow gingham tablecloth and floral napkins – homemade by me!
Cutlery – Shop here
Black bunnies – Shop here
Hop Hop Hop bunting – Sold Out, from Pottery Barn Kids.
Flowers – Always from my favourite florist – That Pretty Market
Frog – Shop here
Rattan Jugs – Sold out – Similar here
Boxwood Topiaries – Shop here

If I’ve missed anything, you can usually find me on IG here.

Are DIY shutters really DIY?

February 28, 2021 by Hayley Leave a Comment

I’ve always loved the look of plantation shutters, there’s something so sophisticated about them, yet they are also casual and classic. They complement nearly every home style and are very practical.

I knew I wanted shutters in my office space for a few reasons.

Firstly, our office is right at the front of our home, it is visible from the street and I knew shutters would compliment the curb appeal, they look just as beautiful from the outside as they do inside. I would eventually like to match the entire front elevation of  our house with the same plantation shutters.

Secondly, the office is a bit of a dumping ground in our house, if someone doesn’t know where to put something, – in the office, anything that needs to be retuned to a store or someone else – in the office, half done projects – in the office, leftover decor that I haven’t found a spot for yet – in the office …. you get the idea. So, I wanted something very clean in the office, clean looking to reduce the visual clutter and easy to keep clean. Shutters tick all the boxes.

Lastly, the office faces west and has 3 huge windows, the afternoon sun can be awfully hot in summer and absolutely gorgeous in winter. I like being able to control the light by tilting the slats to an angle that blocks the light or lets it stream in, while the bifold design makes them easy to open to access the windows.

So, they say DIY … how easy is the DIY and can you do it?

If you can measure your window, drill a hole, read a spirit level and screw in a screw – YOU CAN DO IT!

If you said no to any of those things, keep reading and I’ll show you how easy it really is.

I’m going to give you the quick version of how they arrive and what you need to do to put them together and install them. Please don’t use this as your instructions if you order your own shutters, it’s just meant to show you the process so you can see how simple it is.

Depending on what fitting option you choose your installation may be slightly different. The fitting guide from Tuiss Blinds Online gives you step by step instructions that are simple to understand and easy to follow. We have the ‘Recess with Sill’ option to fit on the inside of our sill, at the same projection as the architraves.

You shutters will arrive in separate parcels with the framing in one package and the shutter panels in another. Unpack everything before you start, lay your components out on the ground and familiarise yourself with the tools in the fitting kit.

The fitting instruction from Tuiss Blinds Online tell you to assemble your frame first, then drill your fixing holes, but we found it easier to drill the holes first as our frames were so big and it was much easier to manoeuvre the frame lengths before they were assembled.

I know this bit sounds scary, but if you have basic knowledge of how to use a drill, it really is very easy. We drilled one hole 10cm in from the top and bottom of the ends on all 4 sides and also another hole in line with the centre of each hinge on the side pieces. We measured and marked our holes with a pencil first, my tip is to measure twice and drill once!

To assemble your frame you just need to push the hoffman keys into the holes, you might need to give them a little hammer into place.

Now you are ready to install the frame into your sill, or whatever fitting option you chose. Use a spirit level to make sure it is sitting level and straight in all directions. You can use the ‘shims’ or ‘packers’ provided to adjust it horizontally or vertically.
Drill your pilot holes through the holes you made in the frame and into your sill or wall. A pilot hole is small hole that is used to guide the threaded screw, it reduces the risk of the wood splitting and makes it much easier to drive the screw in.

Once all the pilot holes are drilled, use the long screws from your kit to secure the frame to your opening. We put the screws in loosely at first then checked the frame with the spirit level again to make any small small adjustments before tightening up all the screws.

It is worth taking your time through the frame installation step to make sure everything is level as your shutters will hang straighter and operate smoothly.

Now you are ready to hang the shutters.

If you loosen the hinges just a little it will give you some movement and flexibility which makes popping the pins in much easier. This is the only part of the process where I found it helpful to have someone else help me, the panels are not heavy, but the extra hand is helpful, one person to hold the shutter steady in place while the other person pops the pins in. They just push in, but they are made to fit snug and may need a little tap from your hammer.

You shutters are now installed.

If they are not perfectly level or sitting slightly off centre, you can adjust them. The fitting guide shows you the best way to adjust them depending on where they are uneven.

See, it’s really not hard at all!

And your next question – Why would you WANT to install your own shutters.
Two reasons, convenience and money.

I find it much more convenient to measure up myself, order online and fit my shutters at my own convenience instead of having pushy salespeople coming to my home and having to wait all day for them to turn up when they feel like it. I’m not saying all tradies are bad (I married one) but I have had a few that walk dirt through the house, bump into walls and the worst – use your loo for number two, ew!

And money … do you have any idea how much money you can save by doing this yourself? You’re basically doing the labour yourself, and we all know that the labour costs is quite often the most expensive part of any home renovation. Obviously I can’t tell you exactly how much you’ll save as prices differ from business to business, but to give you an idea – we ordered shutters from a local business at our last house, we looked at their invoices and worked out a rough meterage price, then we did the same with our quotes from Tuiss Blinds Online. The DIY shutters were LESS THAN HALF the price of what we paid last time.
Seriously!

We chose the Sherbrooke Egg Shell shutters from Tuiss Blinds Online and we couldn’t be happier.

Here’s a few before and afters.
The first ‘before’ is when we first moved in, the windows had greenish-grey sheers over the blinds. We removed them pretty quickly. The second picture shows the blinds just before we removed them.
I’m thrilled with the transformation in this space!

What do you think?
Leave me your thoughts or questions here or on IG here.

Happy DIY’ing!

Hayley x

Our PINK bedroom

February 7, 2021 by Hayley 1 Comment

Firstly, let’s get one thing out of the way, the one question I have been asked more than anything else ….. no, my husband doesn’t mind having a pink bedroom, in fact he loves it, and I love a man than is comfortable in his masculinity and embraces pink!

Okay, so let’s look at the pink, it’s not a bright candy pink, nor a pretty baby pink, it’s a dirty pink with warmth and depth. It changes with the lighting from a peachy sunset to a nudie tan.
It is Primal 1/2 strength from Dulux.

Why pink? Our ensuite is pink, floor to ceiling pink marble, while it is currently tired and dated, we are going to keep the pink marble and update the rest of the bathroom with a new vanity and hardware. Stay tuned for that makeover, it’s going to be fun.

We decided to embrace the pink and work with it instead of fighting it. I have to admit, I was a little worried at first, so I kept all the other elements in the room neutral in case I hated it and wanted to change it, but now it’s done, I absolutely love it and I think it’s just what this room needed.

It was a quick and easy makeover with minimal effort and money for maximum impact.
So, what did we change in this space?

We added VJ board behind the bed, we used Easycraft from Bunnings which comes in sheets, it’s easy to install and we got it up in a few hours. Then we painted the whole room pink, I wanted our bedroom to feel like a big warm hug and having the entire room in the same colour makes you feel like you’re being enveloped as you walk in.

The biggest change we made, and the most impressive by far, is replacing the curtains and blinds. This room has a huge bay window with an adjacent sliding door to the balcony. It is nearly 9 metres long and the first thing you see when you walk in the room. It has a beautiful view out to the waterway, but this also makes it a giant fishbowl which is not ideal for a bedroom.

I wanted to retain the beautiful light in this space, but I also wanted some privacy, and of course we needed a block out option for sleeping. I initially wanted a sheer curtain with a block-out curtain over the top for sleeping, then I saw the remote control electric blinds on @blindsonline Instagram page and I was SOLD! I imagined myself welcoming the morning sunshine into our room without leaving the comfort of my bed, this is one of those little pleasures that I love having at fancy hotels, I just knew we had to have them at home.

BEFORE
AFTER

I chose the Berber Basket Beige fabric roman blinds with block-out lining, and I added the remote control electric option. The fabric is thick and textural, but soft enough that it folds up neatly every time. The colour is the perfect neutral shade that would work with any colour palette.
The remote control option is an added expense and I did have that little voice in my head telling me that I didn’t ‘need’ it and that I could manually pull up my own blinds ….. I am so glad I ignored that voice! Honestly, this really is a little bit of luxury that you will appreciate at the end of every big day when you just can’t wait to get into bed. You just press the button on the remote control and see the world disappear from the comfort of your bed.

 I used the same sheer fabric that I used downstairs for continuity through the house, plus why would I choose something different when I love them so much? They are a perfect white and the ideal weight to let lots of light in while still providing privacy. This time I chose a pencil pleat instead of a pinch pleat. I think the pencil pleat is a little more relaxed and not as formal as the pinch pleat. I want our bedroom to feel effortless and laid-back and the pencil pleat works beautifully.
I chose the Tahiti Snow fabric.

I shared the details of how to prepare a pencil pleat curtain for hanging on my Instagram and I was surprised at how many of you didn’t know how to do it and didn’t know how easy it is. I was also shocked at the incorrect information some of you had been given by retailers that clearly don’t know how to install the products they are selling! A couple of you were told to put the hooks through the gathering strings, nooooooooo! I’ve saved the details of how to prepare them on my IG highlights, you can find it here.

You can rest assured, when you order curtains and blinds from Tuiss Blinds Online, you will receive step by step instructions for installation that are easy to understand and easy to accomplish, you can also find them online here and here.

The sheers completely transform this space. I hung them from a matte black glider rod, they are simple, timeless and stunning. I can’t gush enough about the difference the window furnishings make, look at these before and after photos! It’s hard to believe this is the same room! My husband said he felt like he was sleeping at a hotel for the first few days.

I can’t believe how different it looks, even the carpet looks a different colour with the fresh paint and beautiful white light coming from the sheer curtains.
I’ve kept most of the same furniture in my room and I’m slowly restyling it with pieces that are more in line with the feeling of our new room. I don’t want to go shopping and buy everything at once, I want to curate and collect the perfect things for our room and if that means that it’s a little bare for a while, I’m okay with that. I’m currently hunting vintage art with meaning and layers of beautiful linen.

Instead of trying to achieve a particular style, I’m choosing to strive for a feeling. I want it to feel warm like a big hug, I want it to feel like home and I want it to feel so comfortable that you don’t want to leave.

I think the few carefully considered changes we’ve made have helped achieve this and I couldn’t be happier with the outcome.

What do you think?

Hayley x

« Previous Page
Next Page »

WELCOME!

I'm Hayley.

I'm a Mum to 3 gorgeous kids and wife to a builder. We are serial house renovators and we have just embarked on our 9th home renovation.

I love decorating with blue and white and pops of pink or green. I love country and coastal style and I've never met a spot or stripe that I didn't like.

I believe in splurging & saving, practicality & pretty and keeping it real.

Please follow & like us :)

Follow by Email
Facebook
Facebook
fb-share-icon
Twitter
Post on X
Pinterest
Pinterest
fb-share-icon
Instagram

Search Mum Little Loves.

Hayley Little in Gold Coast, QLD, AU on Houzz

Copyright © 2025 · Beautiful Pro Theme on Genesis Framework · WordPress · Log in