So, we had this space in our new TV room, it looked like something was meant to go there, but was never installed. It was 260cm long and finding a ready made piece of furniture to my liking and within my budget was proving to be impossible. So, I hit Pinterest for ideas and found a few pictures where people had used the Ikea kitchen wall cabinets as side boards and similar, like this –
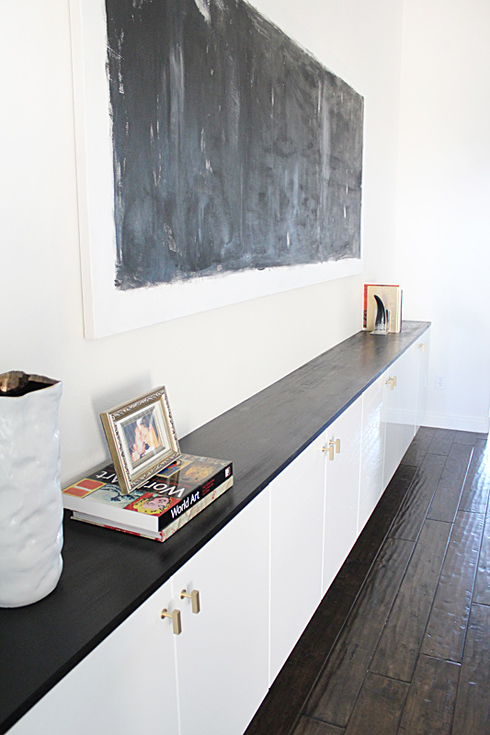
As much as I love this, I wanted it to go to the ground. I can just imagine 700 pieces of lego, 457 matchbox cars and a dust ball the size of China gravitating to the area under there, nope, not exaggerating at all! So, I decided to use the Ikea kitchen base cabinets. I kept it fairly simple with 4 doors, no drawers, no fuss.
Here’s exactly what I bought –
4 x METOD base cabinet with shelves / white / Sävedal white / 60x60x80 / $110 each
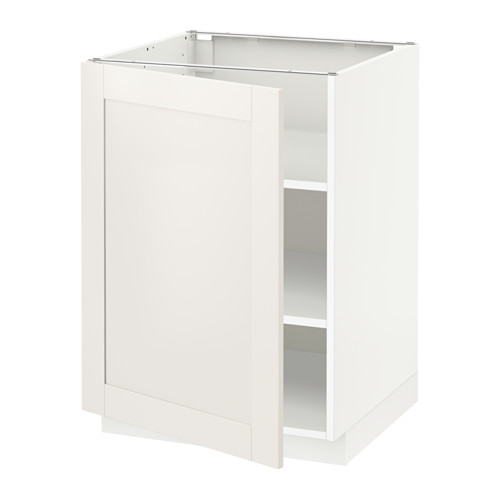
2 x Sävedal white drawer fronts / 80×10 / $10 each

4 x packs METOD legs / $5 pack

And now your wondering why I bought 2 drawer fronts aren’t you? We were just lucky that the drawer front fitted as a filler each side, there was no need to buy a bigger piece and cut it to size, when we could buy a couple of drawers for $10 a piece which worked perfectly! So, we started with 260cm, we used 4 x 60cm base cabinets equalling 240cm, with a 20cm gap left, 10cm each side – perfect for the drawer front panel!
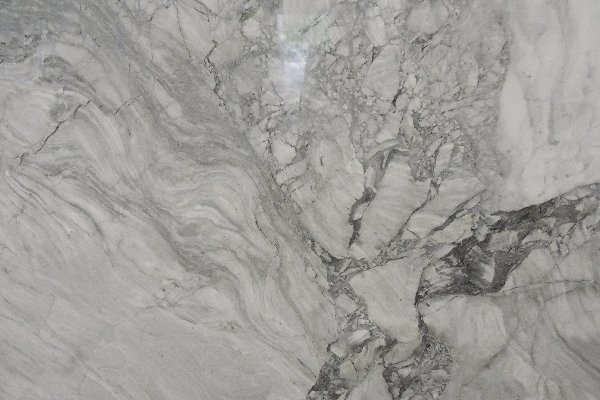
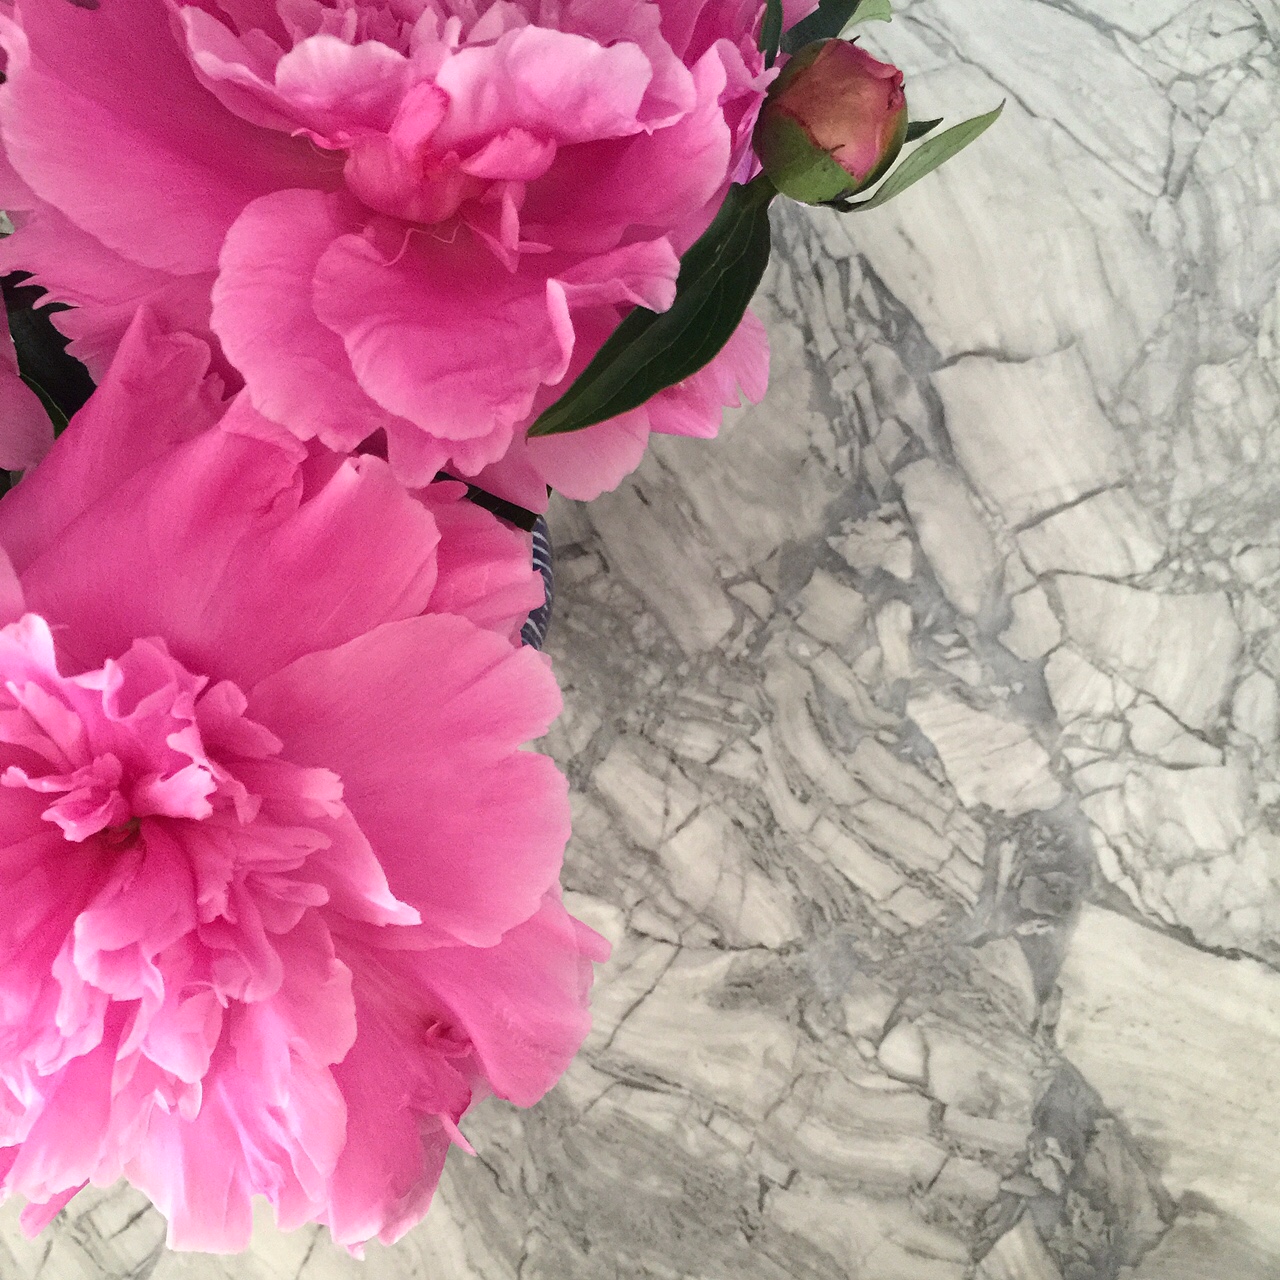
Next for the stone top, I had a look at the Ikea range, and while there is a great selection, they didn’t have exactly what I had in mind. I went to my local stone mason and had a look at their offcuts, yes there is offcuts this big! I fell in love with a piece of quartz and held my breath while they worked out a price for me, and was pleasantly surprised it was within my budget! I chose White Fantasy Quartzite in a 30mm thickness and I am thrilled with it!
We won’t be finishing the kick/plinth until we re-do the floors. We are planning on ripping up the tiles and laying timber or travertine, so it’ll have to wait till then.
All up in came in at under $1200 and I’m pretty happy with the way it looks. Here’s the progress pics…..
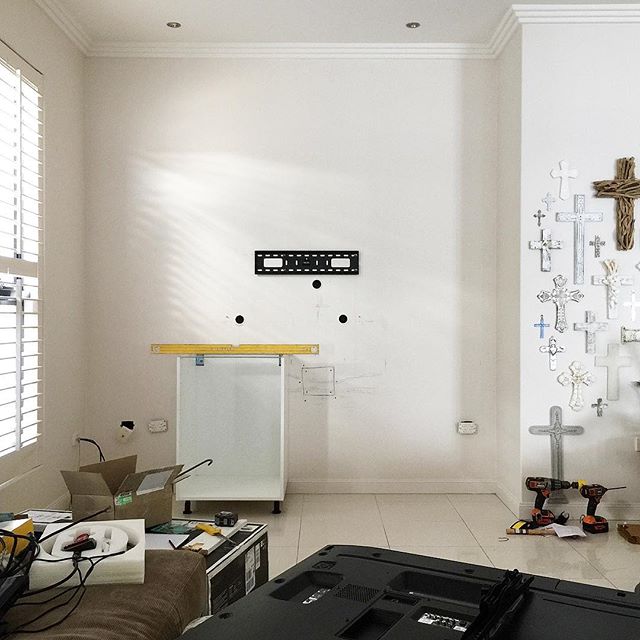
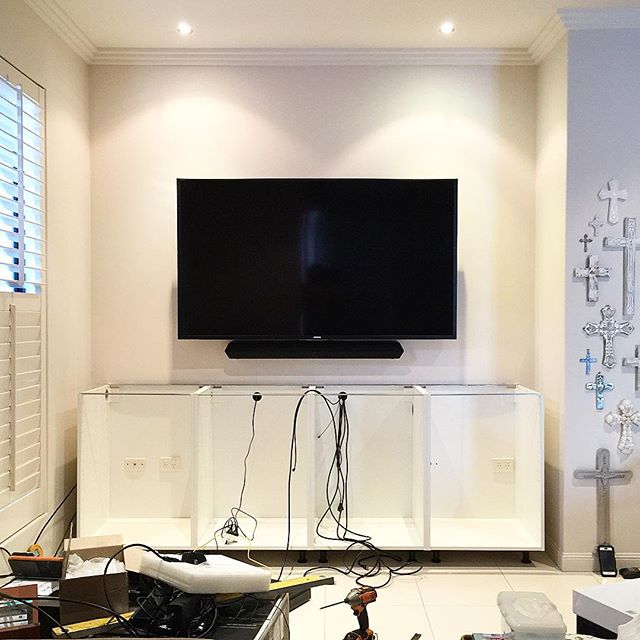
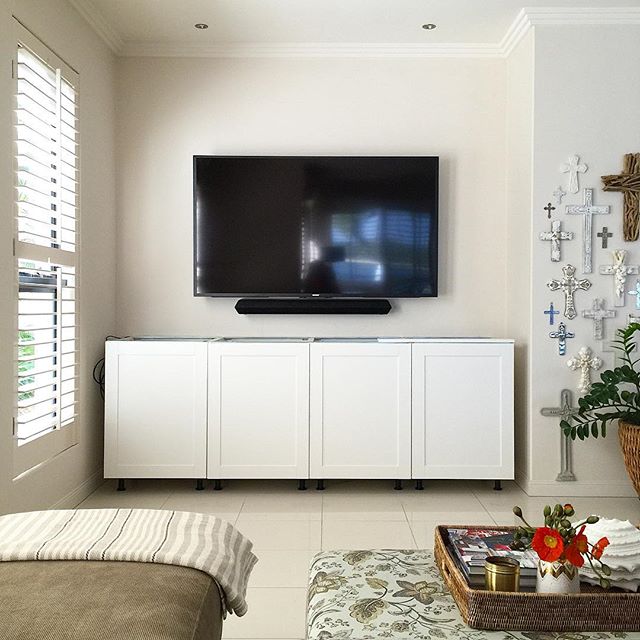
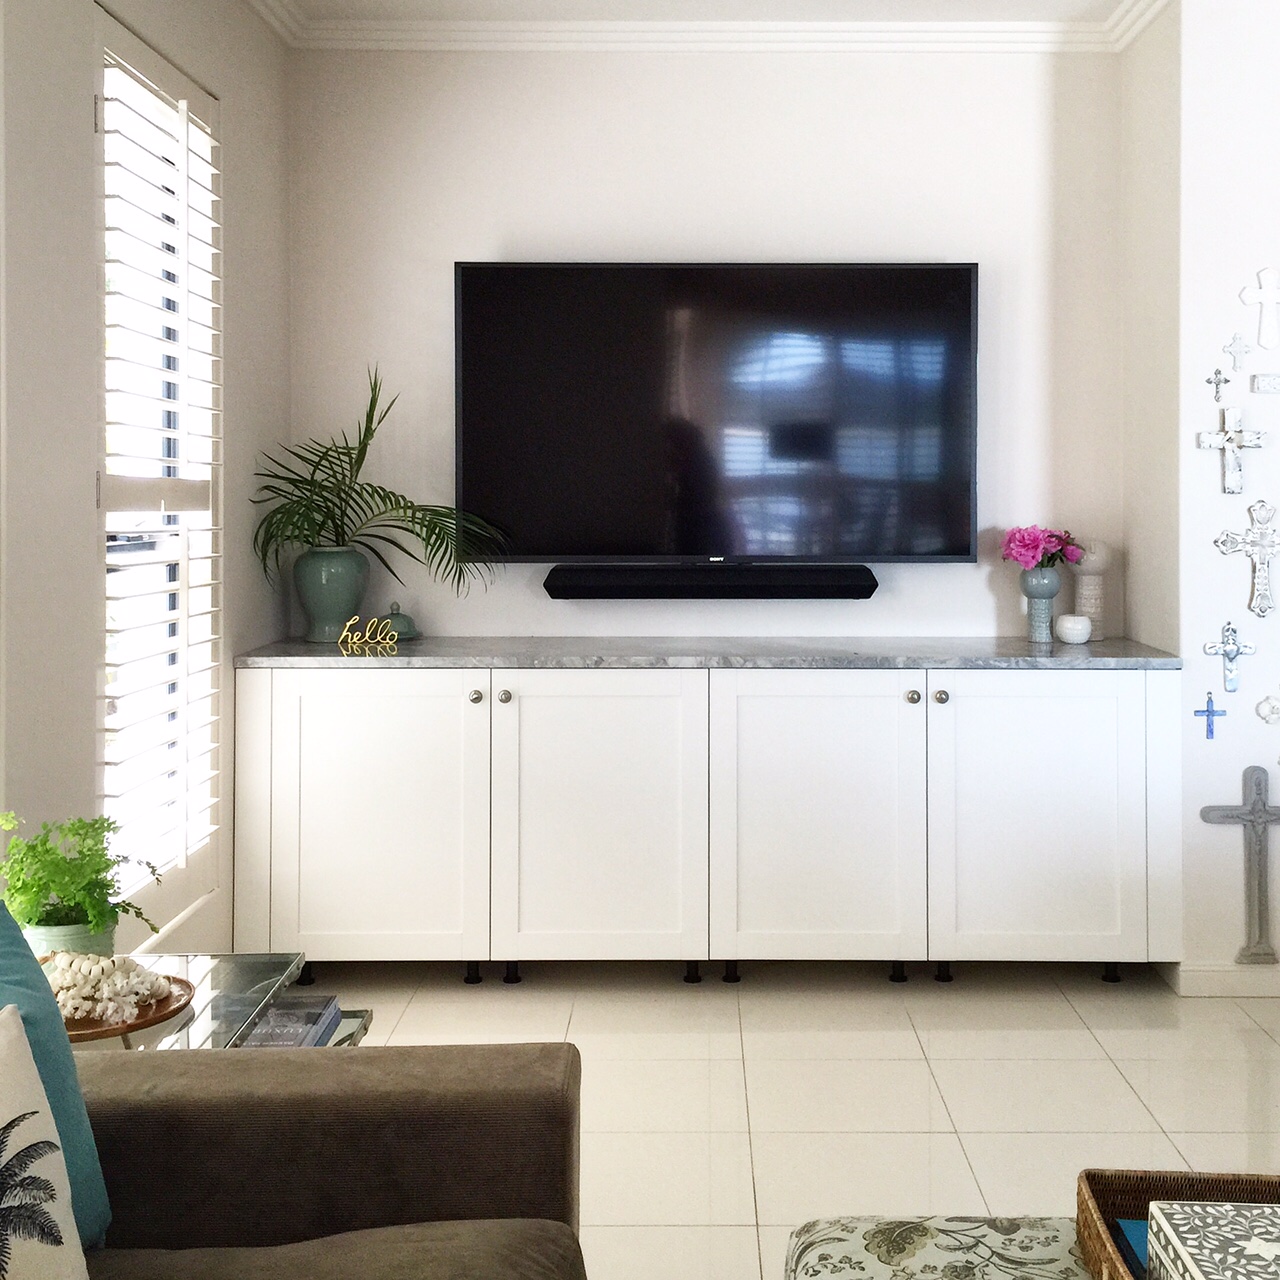
And the finishing touches, the stone top and knobs. This is as far as it will go until the floors get done, I’m pretty happy with it.

What do y’all think?
Hayley x
Love it Hayley. Can’t believe you thought of using those drawer fronts. I would NEVER think of doing that. Mind you I couldn’t do the math anyway❤️❤️❤️
Hi Hayley another fantastic DIY job! Well done, it looks great and so functional.
Thanks Catherine, you always have such lovely things to say! Hx
I know this post has been awhile. Not sure if you still read this. If you do, I want to know if the stone mason had to come install it for you. And if the cabinet had special things to make it strong enough to support the stone. Which stone mason did you go to by the way?
Hi, we bought the stone from a place at Nerang, it was an offcut, most stone places will have a selection of offcuts available at cheaper prices. They delivered it and they put it straight on the cabinets, we had them ready with some liquid nails on the top. Nothing was reinforced, but the cabinets were sitting on the ground, not wall hung, I think I would do some reinforcing if they were wall hung. Hx