I’d love to know what it feels like to be organised, like seriously next level organisation, where everything has a place, everything is easy to find and everything is labelled! Which brings me to my latest obsession – my Cricut Maker.
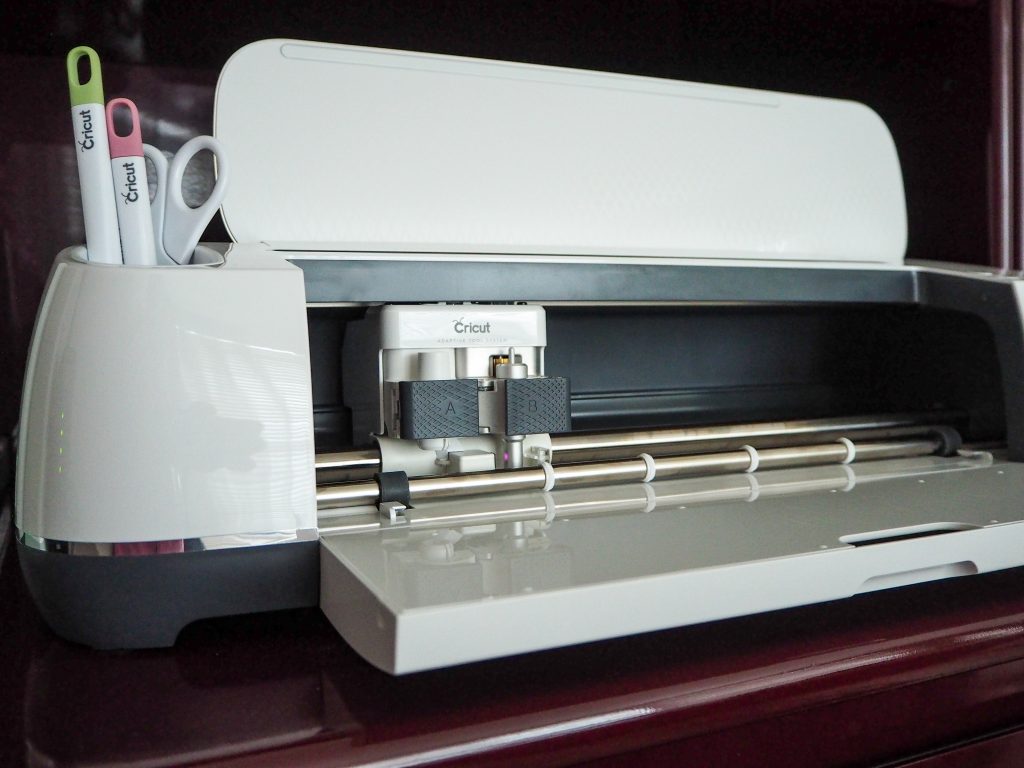
I wanted the Maker to help me label every cupboard, drawer, basket, box and container in my house, which it can do with ease. What I didn’t realise is that it’s capable of so much more!
It is essentially a die-cutting machine, it cuts over 300 materials from crepe paper and fabric to basswood and leather. After I unboxed my machine and completed the beginners project I was amazed and excited by the possibilities. I started searching on Pinterest and Instagram and found some incredible projects. I quickly realised the only limits of this machine was my imagination.
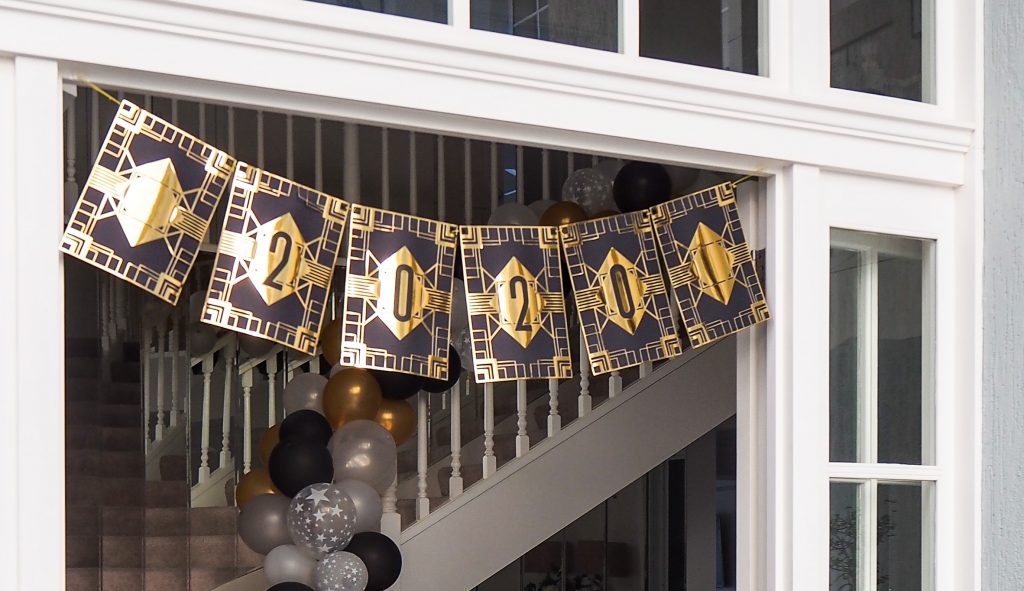
At the same time, I had Bella’s formal preparation happening and I volunteered to have the pre-drinks at our house. We had just moved house 2 weeks prior and the last thing on my mind was decorations.
The Cricut Maker was an absolute lifesaver and my daughter and I made the decorations in just a few hours and they looked amazing!
This was my first real project and I was a little nervous. It was so easy, it has step by step instructions and walks you through the entire process.
I used materials I had on hand from my scrapbooking days, but you can get all your supplies at most good craft stores. In Australia, Spotlight has a great range, along with a large selection of the Cricut machines and accessories.
Cricut Design Space software has 1000’s of ready made designs and projects that are great for a beginner like me.
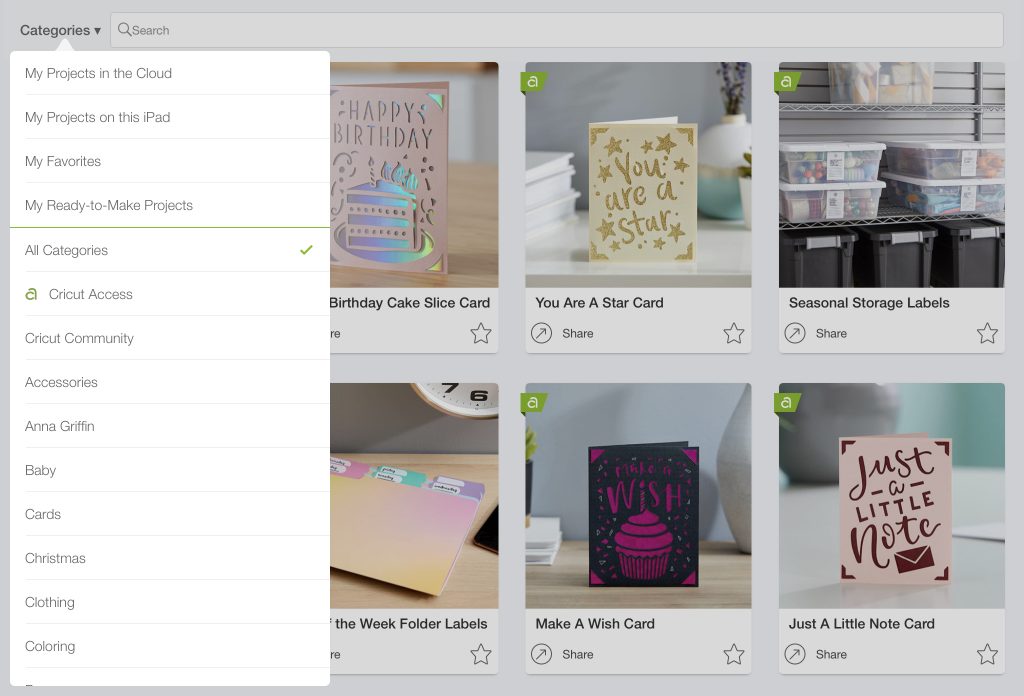
Our formal was 1920’s themed, I searched for 20’s and scrolled through until I found what I wanted.
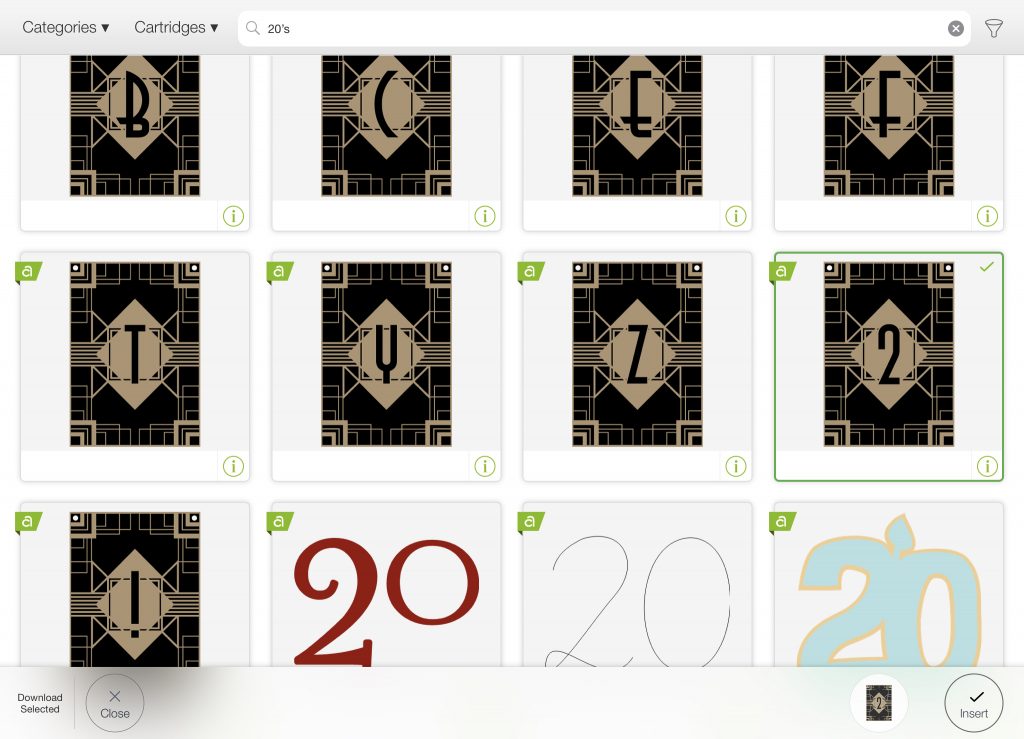
I chose the gorgeous Deco style banner in gold and black, then hit ‘Insert’ to add it to my canvas, which is the design space of the software where you bring your projects to life.
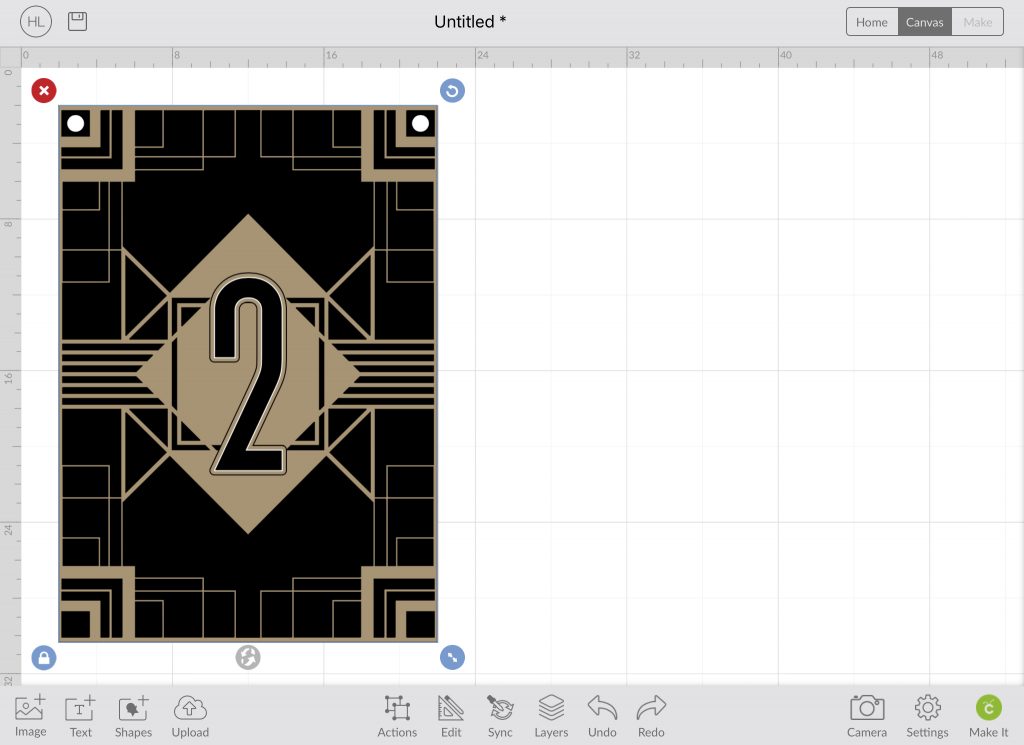
I dragged it to the size I wanted and then selected ‘Make It’.
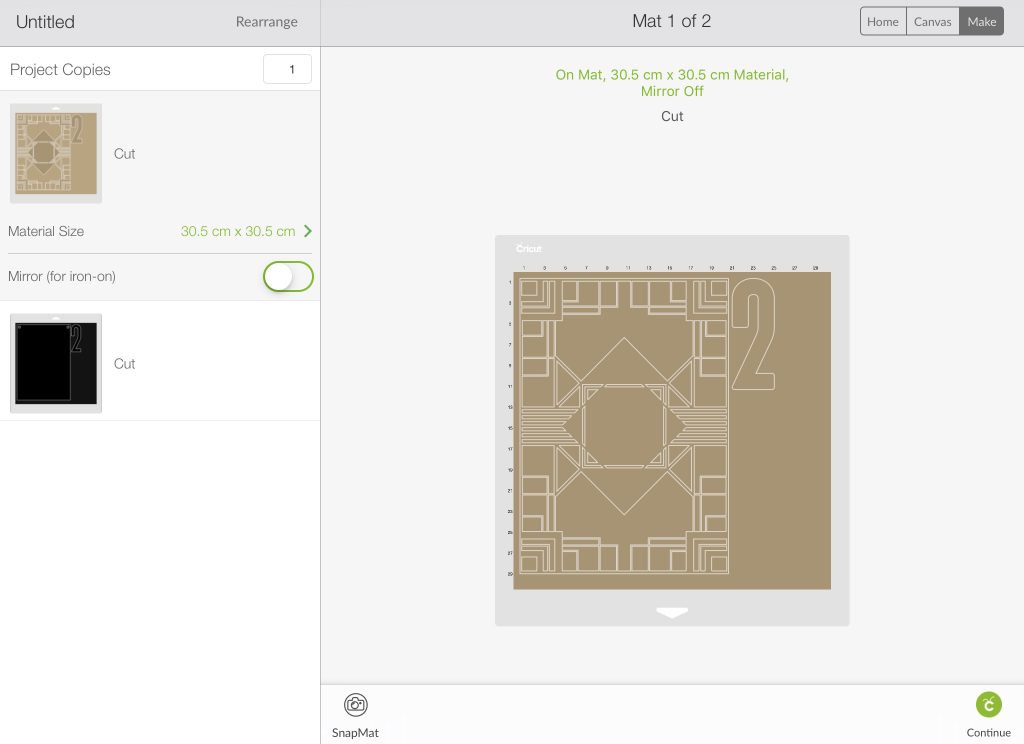
This is where you can see how it will cut on your mat and how many layers you will need. I needed the gold layer for the decorative front layer and the black layer for the backing.
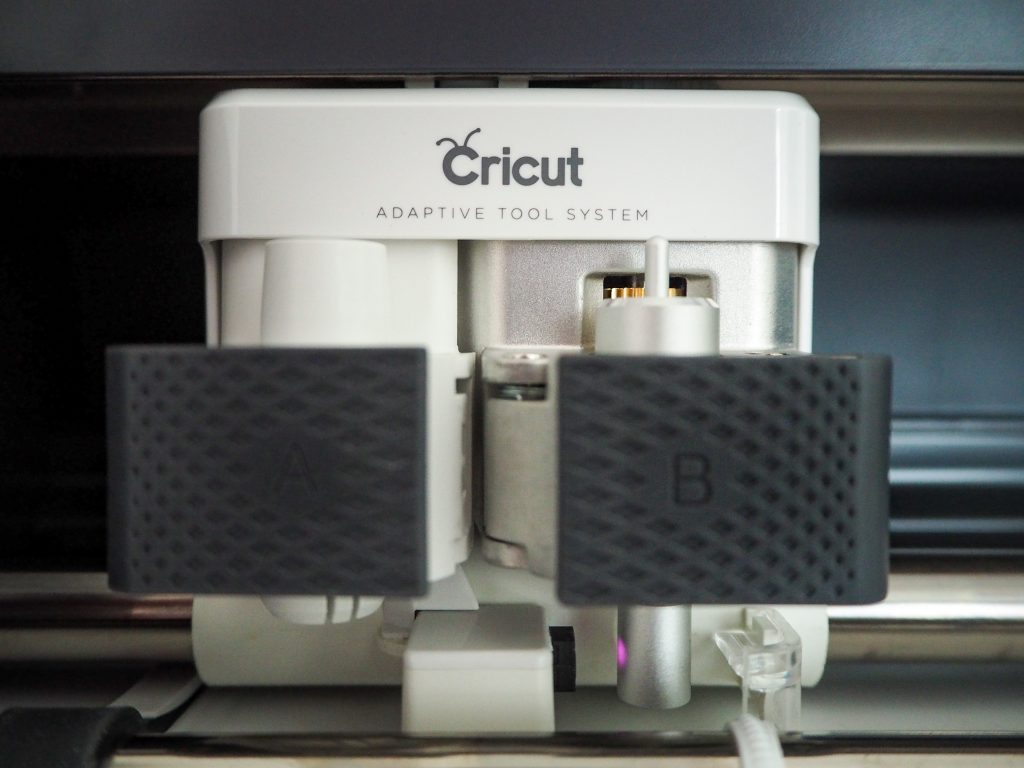
I inserted the gold card stock on a mat for the first layer as instructed by the software. It connects to your machine via Bluetooth and the lights on the machine flash when it is ready.
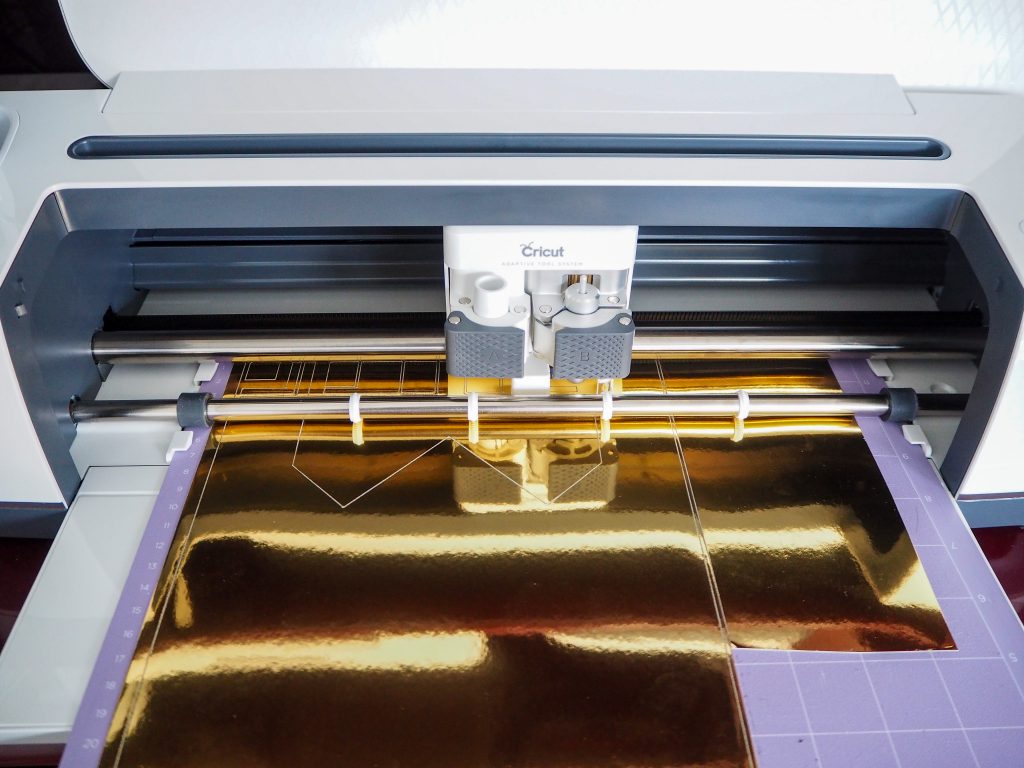
Then the magic began. I was actually blown away by how precise the cuts were and how easy is was to use! Once my first layer was cut I repeated the same process for the second black layer.
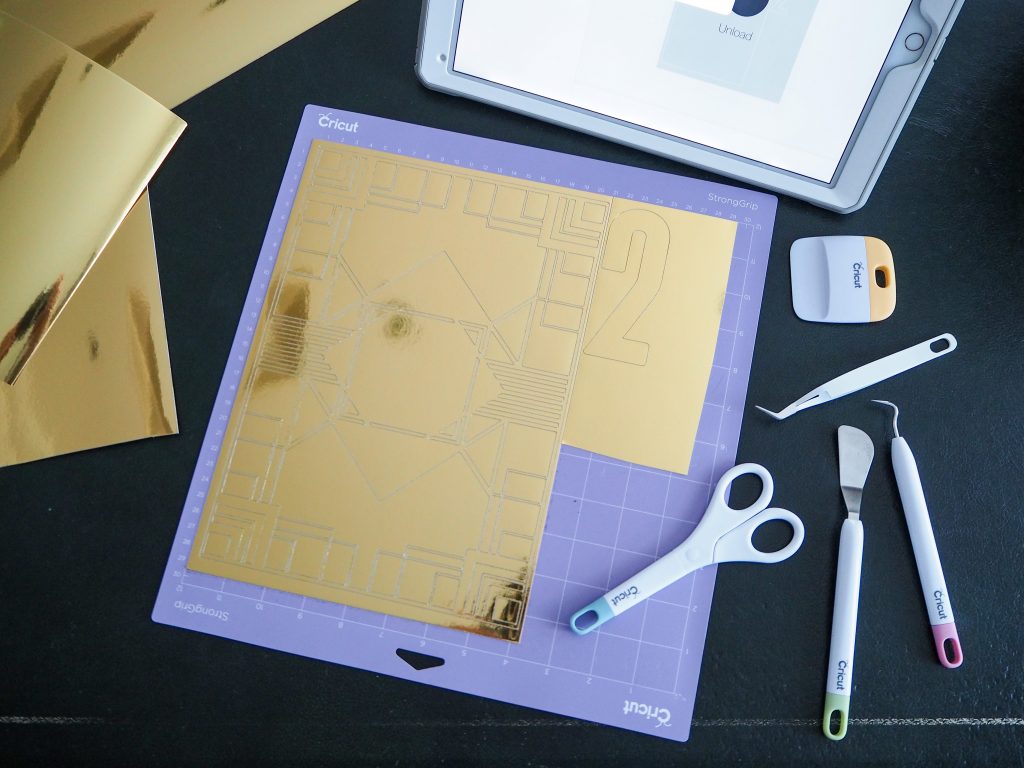
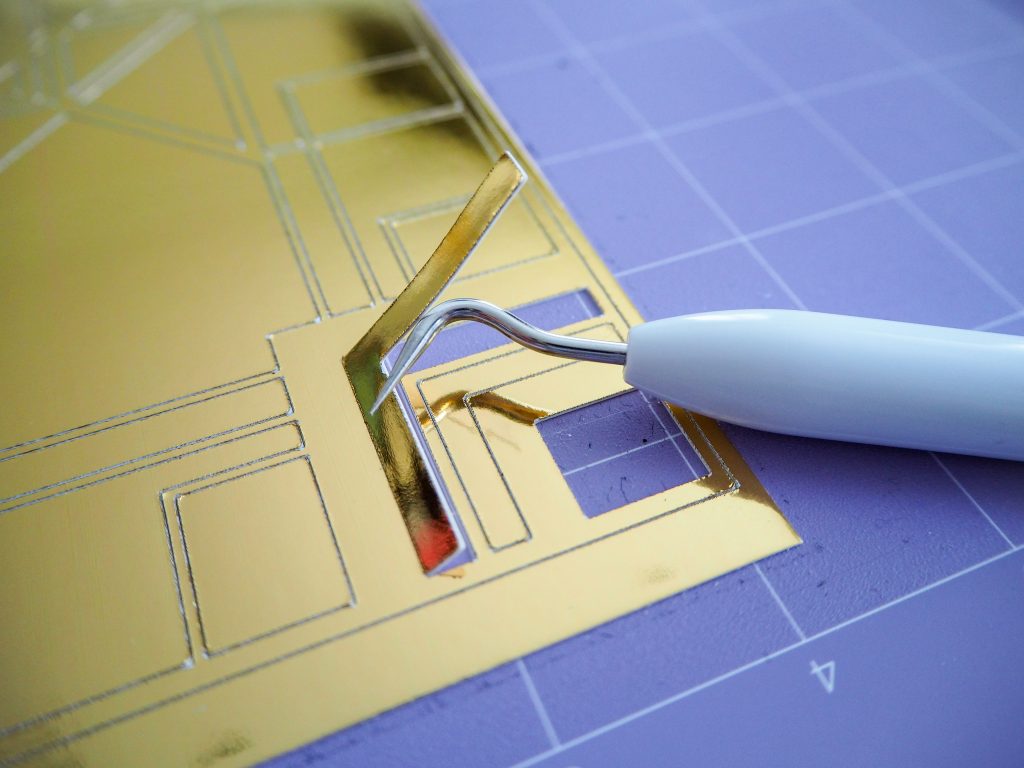
This is my favourite bit, it’s called ‘weeding’ and it where you remove the negative details and leave the design behind. I used the Cricut tool which made it easy and strangely satisfying.
Once I finished both layers and removed them carefully from the mats, I assembled them with two-sided tape.
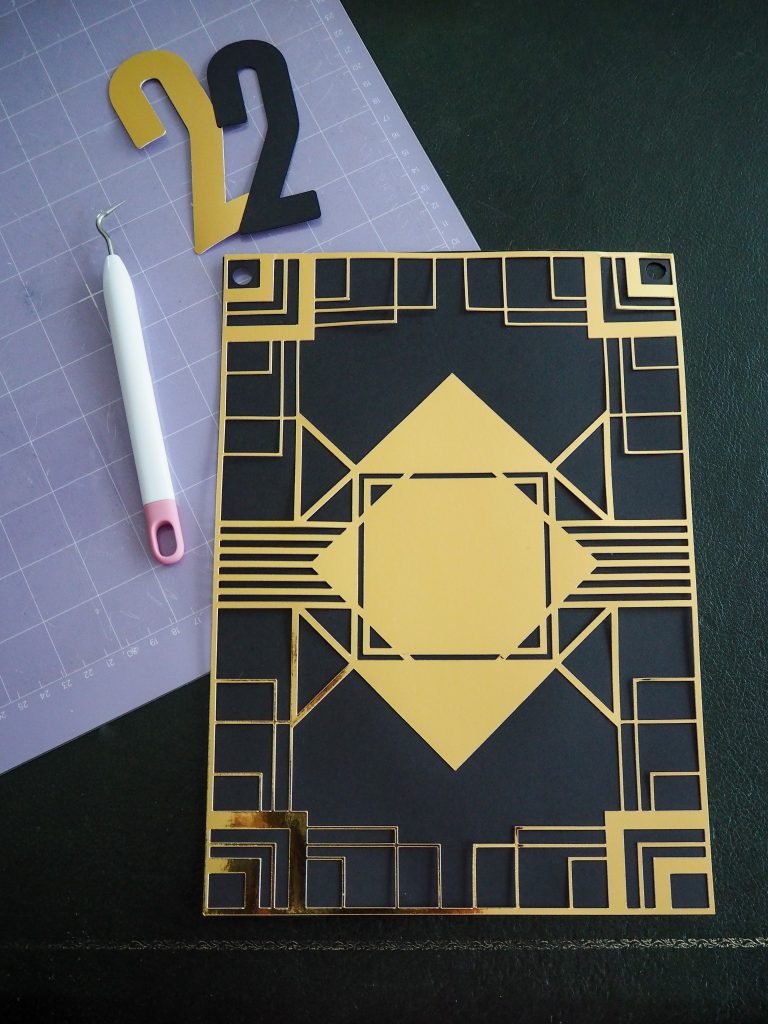
I repeated these steps and made the year ‘2020’ and two blanks ones to go on each end. I joined them together with gold string.
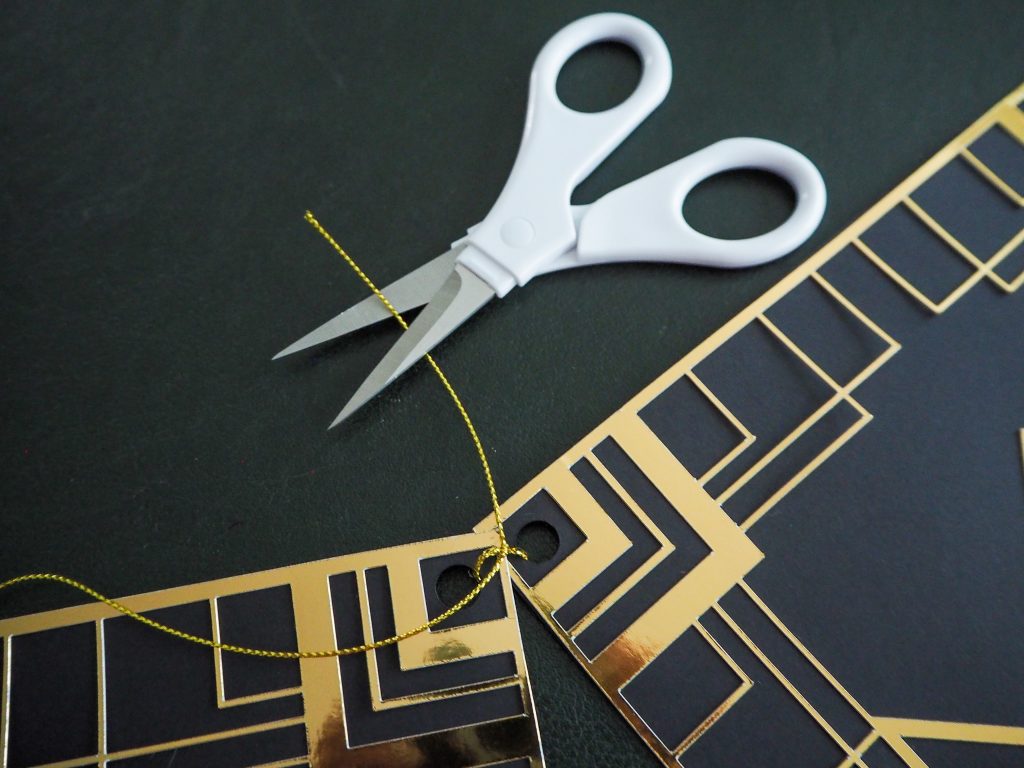
It turned out beautifully! What do you think?
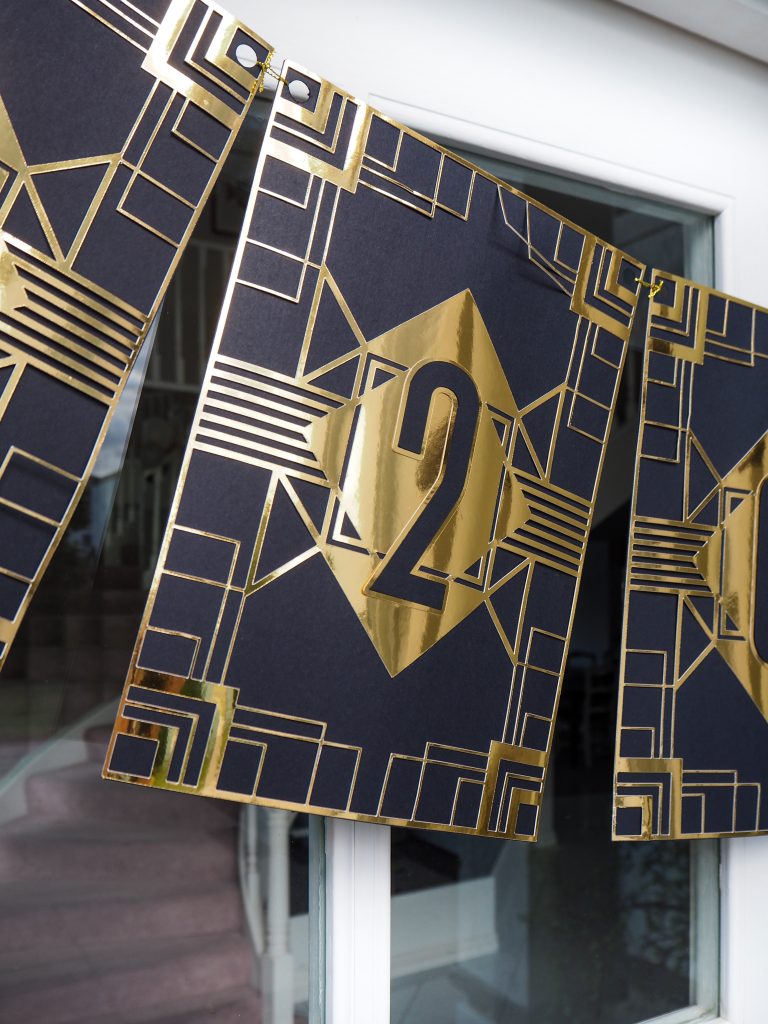
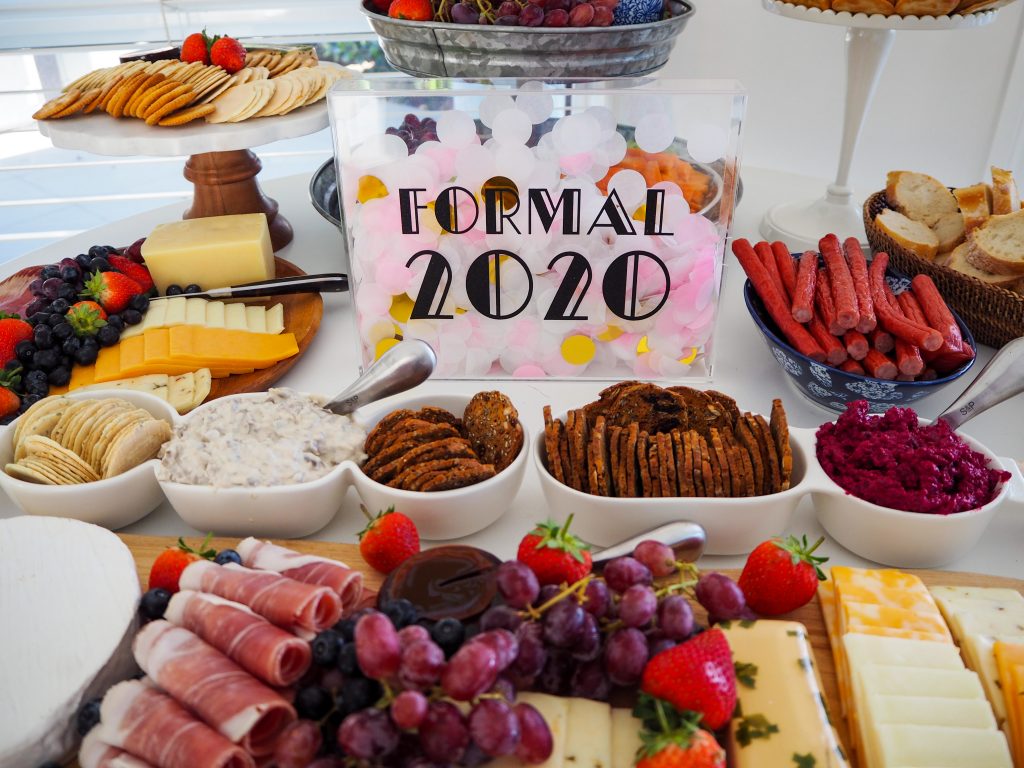
I’m was so happy with my first Cricut project. I didn’t stop there, I also made a confetti box for the grazing table.
I already had the fun confetti filled perspex box, I simply added some font using the Cricut Shimmer Vinyl in black. I chose the Deco font. It was super quick and easy and it looked amazing.
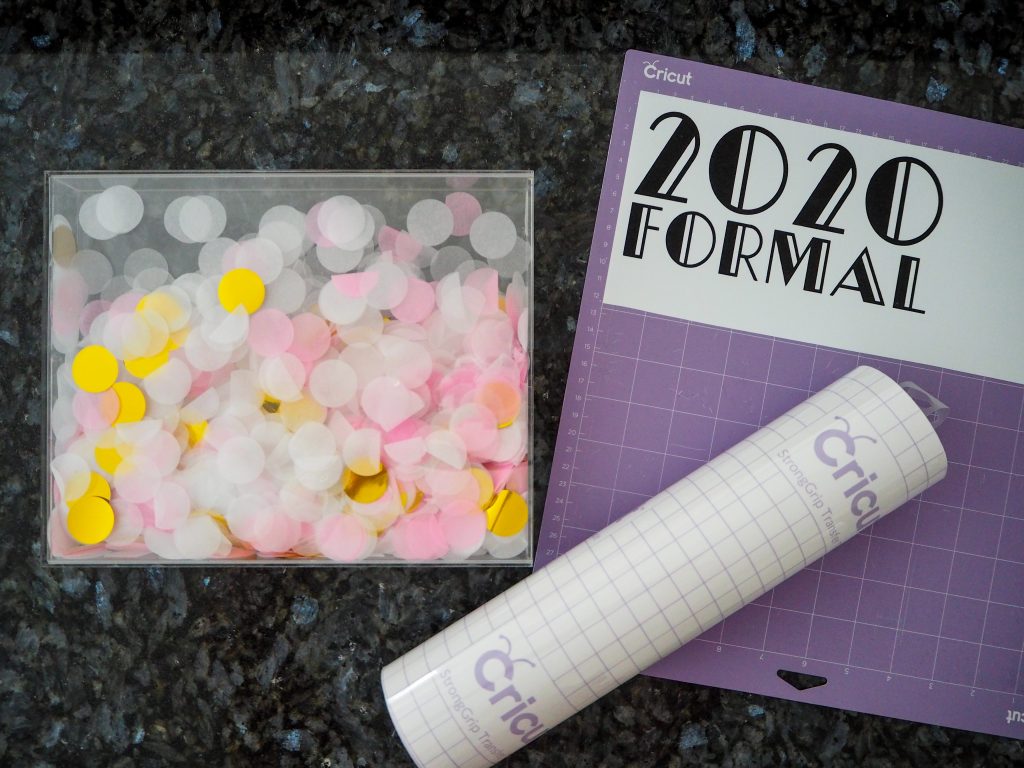
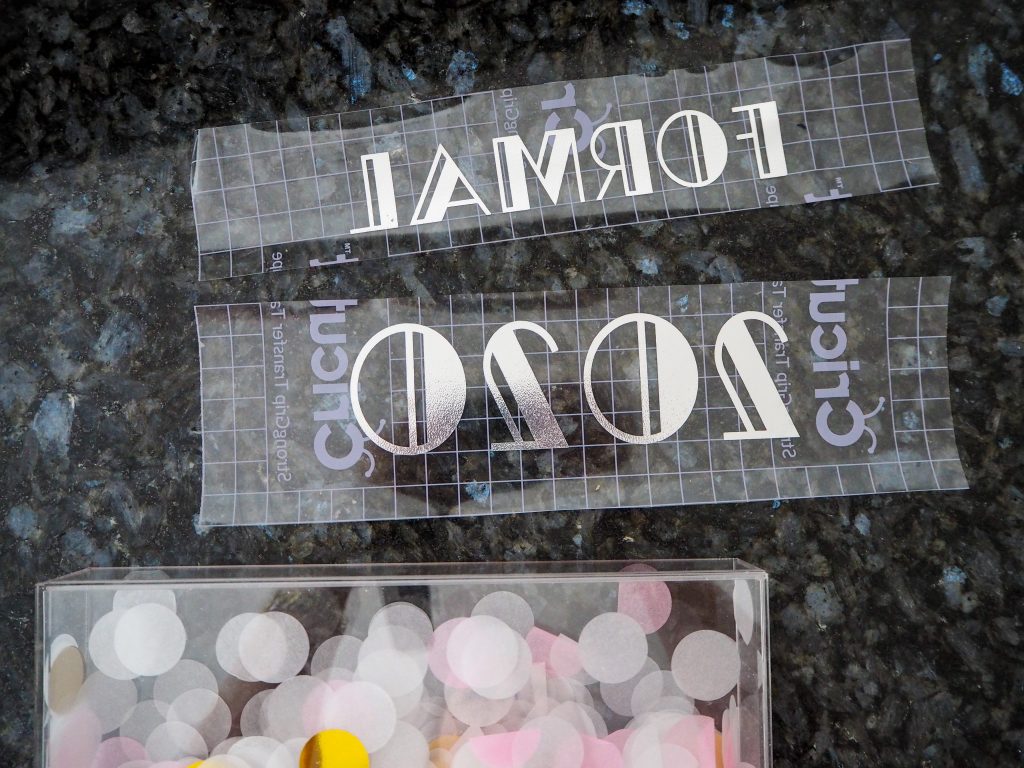
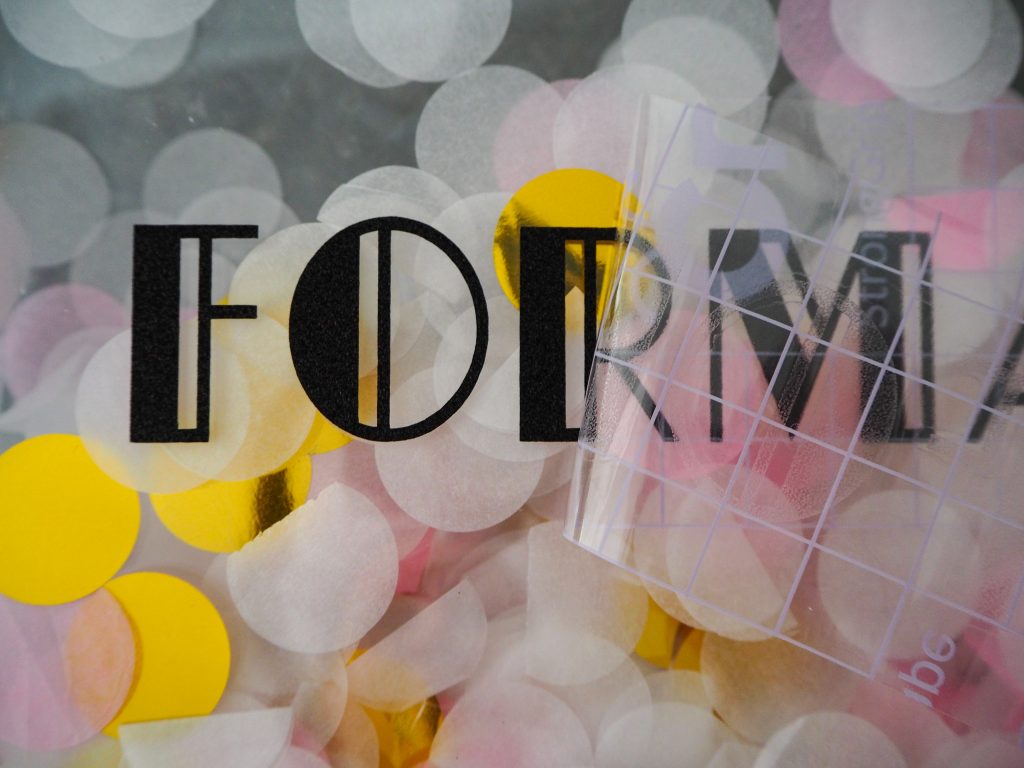
It was the perfect finishing touch to the grazing table and everyone loved it!
I’m already planning my next Cricut projects and I can’t wait to get started. Stay tuned for a Lego organisation table, some felt pennants for Orly’s room and some monogrammed pillowcases!
Happy Crafting!
Hayley x
Woohoo….mummy is starting a list😀😀